How to Make a Stainless Steel Sink Shine Like New
By the QuiteRecipes team (Jamy & Kaïna)
A stainless steel sink isn't supposed to look water-spotted. With the right wipes, the right direction, and one pantry ingredient, you can restore that mirror finish in minutes.
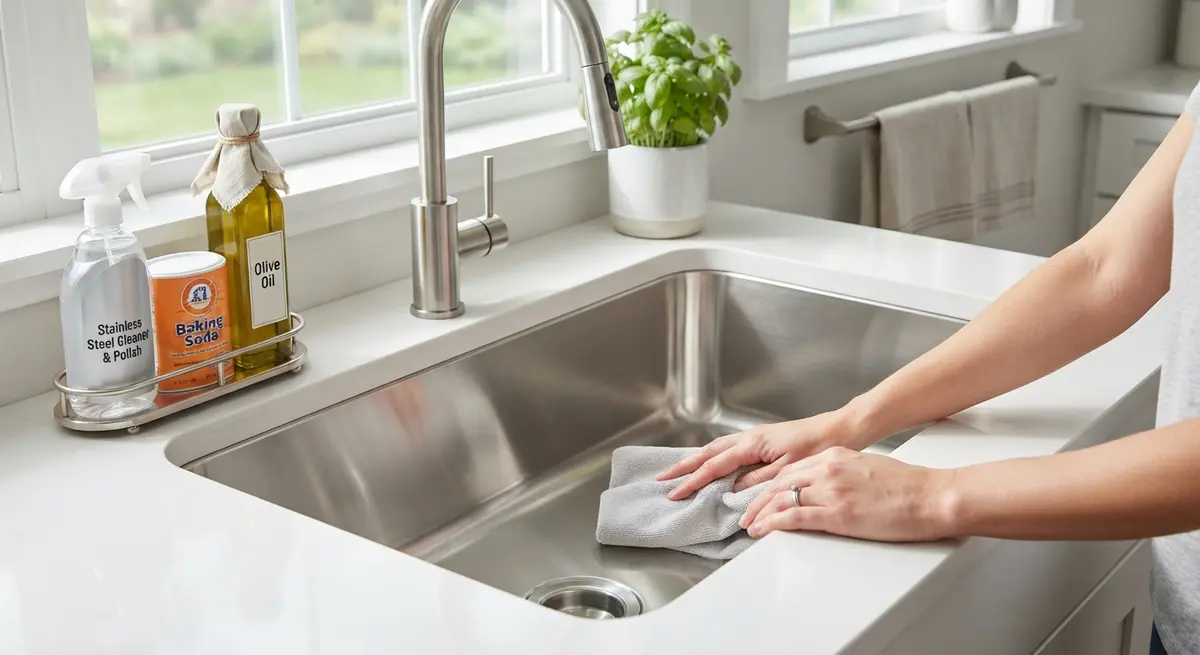
I remember the exact afternoon I fell out of love with my kitchen sink's stainless steel. I'd moved into a new apartment, the sinks were brand new, gleaming, the kind of mirror finish that makes you want to polish it again after every rinse. Three weeks later they looked like they'd been through a war — cloudy streaks, white calcium spots, and a faint rainbow tint that no amount of scrubbing could fix.
I tried everything: dish soap, all-purpose spray, even a stainless cleaner that left a film worse than the spots. Nothing worked. Then a housekeeping pro I knew let me in on the secret that changed everything in under five minutes.
The finish was never broken. I was just cleaning against the grain, using the wrong tools, and mistaking abrasives for cleaning.
This guide is the full playbook: why stainless steel looks dull, the grain-direction rule that makes or breaks the shine, the one-pantry-ingredient trick for restoring it, the biggest myths you should ignore, and a five-minute daily routine that keeps it looking factory-new.
Why Stainless Steel Goes Dull in the First Place
Stainless steel's mirror finish isn't a coating. It's literally the visible grain — microscopic parallel lines created when the sheet metal is brushed at the mill. Think of it like a piece of hardwood that's been sanded in one direction.
Every surface imperfection is telling you one of three things:
- Water spots and mineral deposits — hard water leaves calcium and magnesium salts behind, which look white and cloudy.
- Grease and detergent film — soap residue that wasn't fully rinsed reflects light unevenly.
- Micro-scratches — from abrasive pads, steel wool, or scrubbing against the grain. These scatter light and read as dull gray.
Once you understand that the finish is directional, you understand nearly everything: the goal isn't to add more chemicals. It's to remove deposits and to work with the grain, not across it.
The golden rule: Wipe stainless steel in the direction of the brushed grain, like you would wax a floor along the boards. Against the grain is how you create the scratches that make it look permanently dirty.
The Grain Test: Find Your Lines
Before you clean, find the direction of the grain. It's usually horizontal or vertical, and on most modern sinks it runs horizontally across the basin.
Hold the sink under a light and move your head slowly. You'll see subtle parallel reflection lines. That's your direction.
Why it matters: Every time you clean across the grain, you're abrading the soft surface microscopically. Done repeatedly, a sink brushed horizontally but wiped in circles will look like it's covered in fine gray fuzz — even though it's technically clean.
Since then, I've made a habit: I always wipe my sinks in long, straight, single-direction passes, top to bottom or left to right, following the lines. It sounds fussy. It's the difference between a clean sink and a shiny sink.
The Five-Minute Daily Routine
You don't need a collection of specialty sprays to keep stainless steel happy. Here's the routine I actually use, in order, every few days:
- Rinse away food and debris with hot water.
- Wash with warm water and a few drops of mild dish soap, using a soft sponge or microfiber cloth. Work in straight lines along the grain.
- Rinse thoroughly — this step matters more than people think. Residual soap is what creates that dull, filmy look.
- Dry with a clean microfiber cloth, again following the grain. Drying immediately prevents water spots from ever forming. This single step is the real secret.
- Finish with a tiny drop of mineral oil or olive oil on a dry cloth, buffed in along the grain for an extra sheen.
The pro habit: The sink that stays shiny isn't the one cleaned most aggressively — it's the one dried fastest. Water left to evaporate is what builds the white scale over time.
The Vinegar Trick: Restoring a Dull Sink
When the sink already looks cloudy, don't reach for a scrubber. Reach for white vinegar.
The basic method:
- Plug the drain and add about a cup of white vinegar, then top with water, and let it sit for ten to fifteen minutes. The mild acid dissolves the hard-water scale that soap can't.
- Empty and rinse with very hot water.
- While the basin is still warm, sprinkle a little baking soda over the damp surface — it reacts with remaining acid, lifts grease, and acts as a very gentle cushioned abrasive.
- Gently wipe in circles for spot cleaning, then follow with straight passes along the grain using a microfiber cloth.
- Rinse, dry immediately, and buff with a few drops of oil for the final gleam.
This combination handles 95% of what makes a sink look old: scale, film, and light water stains. It's also cheap, food-safe, and won't strip the finish the way strong chemical cleaners will.
When to Use a Dedicated Stainless Cleaner
A good stainless steel polish (usually a light mineral-oil and solvent mixture) is fantastic for the final gloss, especially around the rim and the faucet. Just remember:
- Use it after cleaning, never as a substitute for cleaning.
- Apply a thin coat with a soft cloth, let it haze slightly, then buff along the grain.
- Avoid cleaners with ropes of chlorine bleach or strong acid, which can pit the surface.
Tools That Are Sabotaging Your Shine
Half the "stainless steel is fragile and always cloudy" reputation comes from people using the wrong equipment. Here's what to banish from your sink routine:
- Steel wool or scouring pads — they scour the brush finish and leave permanent gray scratches. If you need abrasion, use a green Scotch-Brite pad gently, or better, baking soda.
- Chlorine bleach — it can pit and dull the surface and is unnecessary when vinegar does the job.
- Abrasive powders like Comet or Ajax, used directly on the metal — they're meant for enamel, not brushed steel.
- Old, greasy dish towels — they redeposit oils and dull the shine. Use fresh microfiber.
- Leaving metal objects sitting in the basin — pots and cutlery rust on contact over time, leaving brown specks. Rinse and lift out promptly.
Fixing Specific Stain Problems
Rainbow or discolored tint
This is usually thin film or a mineral reaction. Clean with vinegar, rinse, dry, and apply a light oil buff. If it persists, a dedicated stainless polish usually clears it.
Brown rust-like speckles
Almost always from metal debris or standing water. Scrub the spots gently with a baking soda paste, rinse, dry, and oil. For stubborn spots, a tiny dot of non-chlorinated cleaner — not bleach — on the tip of a soft cloth.
Water rings where pots sat
Mineral scale under the pot footprint. Vinegar soak, then rinse and buff along the grain. It lifts right out.
Cloudy cloudy film that won't lift
This is usually detergent buildup from "cleaner dumping." One strong vinegar soak, thorough rinse, and a dry buff generally restores the finish.
Prevention: The Habits That Keep It Clean
- Dry after every use, even a quick pass. The ten seconds you spend now saves a descale later.
- When you empty the sink, spray the sides with a quick hot-water rinse to move suds off the walls.
- Don't let dishes soak for hours — the standing water invites mineral rings and harsher cleaning later.
- Give the sink a monthly vinegar day to dissolve scale before it has a chance to look permanent.
- Rinse the faucet head and wipe the neck, where hard-water scale loves to congregate.
A Word About Food-Grade vs. Appliance Steel
Small note: your sink is "304" food-grade stainless, which is standard for kitchen use. The brushes are soft on purpose. If yours develops pinhole rust spots (tiny orange dots), that's usually microscopic metal contamination or a rare defect — clean gently, and if it worsens, consult the manufacturer. For everyday dullness, the routine above is the whole cure.
The Hard Water Arenas: Spots, Film, and the Patina Problem
If your tap water runs hard, your sink fights a constant battle against mineral deposits. Here's the honest playbook.
- White spots and a whitish film are calcium and lime, not soap residue. Wipe the sink dry after every use and the fight is mostly over before it starts.
- A rainbow sheen on stainless is mineral film, not damage. A damp microcloth with a few drops of lemon juice or white vinegar removes it in one pass.
- Never let standing water sit. A puddle in the basin is a mineral stain and a dull patch in the making. Dry the sink after heavy washing and every night before bed.
For stubborn limescale rings, lay a folded paper towel soaked in vinegar along the ring, let it sit 15 minutes, then scrub with baking soda. The chemistry does the lifting; you just do the wiping.
Fast Touch-Ups vs. Monthly Deep Cleans
You don't need a full ritual every day. Divide the care into two tracks:
- Daily (2 minutes): wipe down, pull the drain plug to check for debris, dry the basin.
- Weekly (5 minutes): one scrub with baking soda or Bar Keepers Friend on any tea, berry, or grease staining, rinse, dry.
- Monthly (10 minutes): vinegar soak for the whole basin, a scrub down, and a polish pass with a dry microcloth to bring back the mirror sheen.
The sink that gets the daily dry and the weekly scrub almost never needs the heroic monthly restoration.
Why It's Worth It Beyond Appearance
That gleaming basin isn't vanity — it's maintenance. Stainless that stays clean and dry resists pitting, clouding, and the scratches that come from scrubbing stains that were left too long. It also avoids the dull gray haze that forms on neglected steel. A sink you care for weekly serves the kitchen for decades and never embarrasses you in front of guests at the cocktail hour. And that's the real measure of "brand new."
FAQ
Can I use bleach on stainless steel sink?
Avoid it. Bleach can pit and dull the surface over time. Vinegar, mild soap, and clean water do the job without the risk.
What's the best thing to dry stainless steel with?
A clean, dry microfiber cloth. Paper towels can leave lint and sometimes scratch; old terry cloth can leave fuzz and oils. Microfiber follows the grain beautifully.
How do I stop water spots from forming?
Dry the sink immediately after rinsing, every time. That's the entire trick. Mineral deposits only appear when water is left to evaporate and leave salts behind.
Does stainless steel need to be waxed?
Not waxed, but a bare minimum of food-grade oil (a few drops, buffed) adds a protective sheen that resists fingerprints and water beading. A light monthly oiling is plenty.
Why does my new sink look dull after the first use?
That's probably residual soap film plus hard water. Follow the vinegar + quick dry routine once, and it should look like new again — and stay that way with good habits.
Key Takeaways
- Clean along the grain, not across it — texture is everything.
- Rinse well and dry immediately; fast drying prevents water spots.
- Use white vinegar for scale and baking soda for gentle scrubbing.
- Banish steel wool, bleach, and abrasive powders from your routine.
- A few drops of food-grade oil buffed in monthly keeps the mirror gleam.
A Final Word
The day I learned the grain trick, I polished a "ruined" sink back to full shine in about six minutes and almost laughed. It had never been damaged — it just needed to be treated like what it is: brushed metal with a direction. Give your sink the same respect and it will reward you with that showroom gleam every time you walk into the kitchen. Start with a single vinegar-soak tonight, and see how fast the old shine comes back.
Published on 2026-08-13 by the QuiteRecipes team (Jamy & Kaïna).
Related Articles

How to Quickly Get Rid of Cooking Odors in Your House
Tonight's fish smells like tomorrow's problem — until you know the trick. Neutralize cooking odors fast with baking soda, vinegar, proper ventilation, and the order that actually works.

Easy Swaps to Make Your Kitchen More Eco-Friendly Every Day
Going greener in the kitchen doesn't mean a full zero-waste conversion. These small, daily, budget-friendly swaps genuinely cut waste, energy, and cost — without the guilt trip.
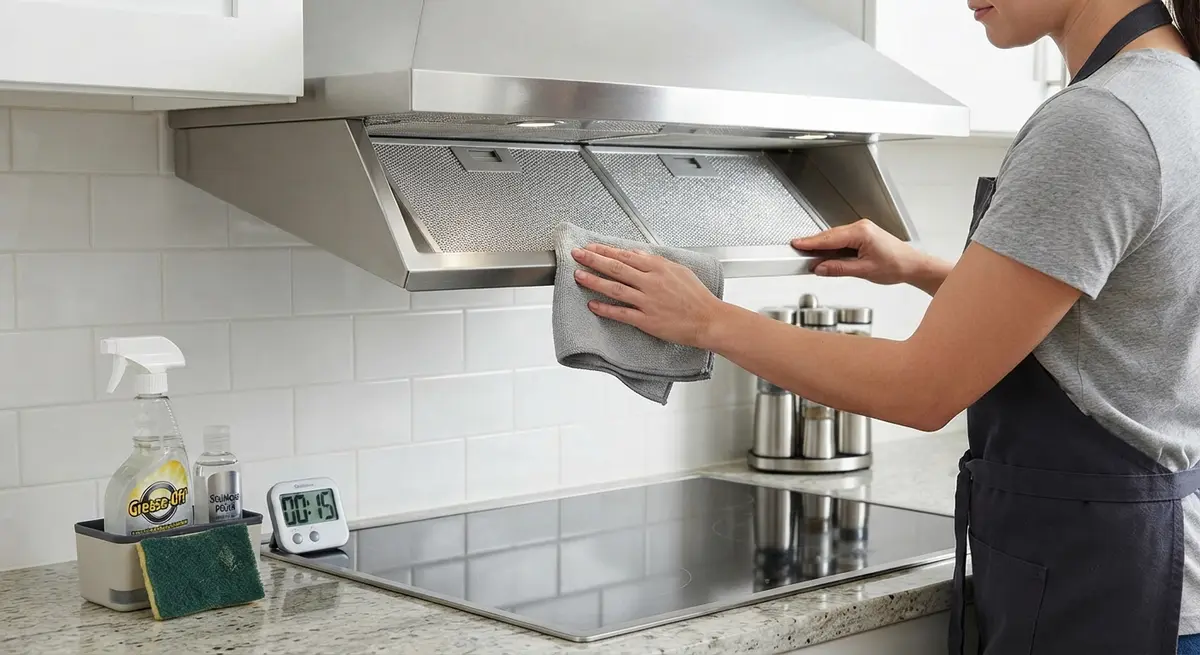
How to Deep Clean and Degrease Your Range Hood in 15 Minutes
Your range hood catches grease every time you cook — and nobody ever cleans it. Here's the 15-minute professional degreasing routine that makes filters, fan, and exterior look brand new.

Kitchen Linens 101: How to Choose and Care for Towels, Aprons, and Potholders
A great kitchen towel performs, and a great one lasts. Learn which fabrics to buy, how to wash and dry them right, and how to care for aprons and potholders so they serve you for years.
About the Authors
This recipe and guide was developed, tested, and approved in our home kitchen and daily life. Jamy is a retired Food Service District Manager and Early Childhood Program Manager who spent his career overseeing multi-site restaurant operations, large-scale culinary production, and daycare menu management. Kaïna brings the ultimate real-world test: making sure it brings ease and joy to our kids on a busy weeknight.
Read more about our professional background and philosophy →