How to Deep Clean and Degrease Your Range Hood in 15 Minutes
By the QuiteRecipes team (Jamy & Kaïna)
Your range hood catches grease every time you cook — and nobody ever cleans it. Here's the 15-minute professional degreasing routine that makes filters, fan, and exterior look brand new.
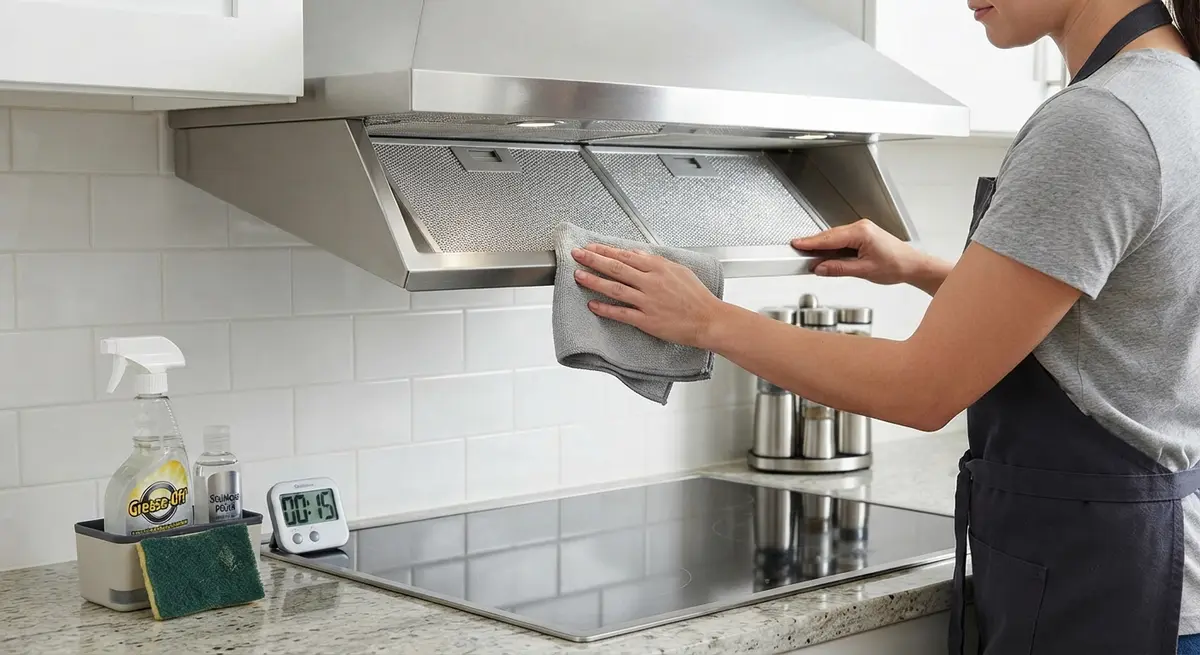
I have a confession to make. For the first six years I cooked professionally, I treated the range hood like a piece of furniture: something to look at, never to touch. It wasn't until a health inspector ran a finger along the top of a vent hood in my first kitchen and showed me the smear that I understood what I'd been ignoring. That single incident is the reason I now have a 15-minute routine that keeps my hood cleaner than most restaurant hoods ever get.
Here's the thing about range hoods: they work exactly as hard as you let them. That mesh filter, that fan blade behind the vents, the stainless shell — every component is a grease magnet that does you a favor every time you sear a steak or fry an egg. The task sounds like a Saturday-morning chore with industrial solvent; it isn't. Done properly, it takes a quarter of an hour and four things you already own.
Let me show you exactly how.
Why Your Range Hood Deserves Better Than a Quick Wipe
Before we get to the method, let's talk about why this matters, because understanding the why is what keeps you doing the how.
Every time you cook, steam and airborne oil rise off the pan and hit the underside of your hood. The filter catches the grease; the fan pulls the air and pushes it outside (or recirculates it, on ductless models). When the filter gets clogged, three things happen, in this order:
- The fan works harder to move the same amount of air, which shortens its life.
- Trapped grease instead recirculates onto your cabinets, your walls, and worst of all, the air you breathe.
- Buildup becomes a fire hazard — a vent hood full of hardened grease is a collection of wicks sitting over your hottest surface.
That third point made me a convert. Deep cleaning a range hood is not vanity cleaning. It's maintenance, the same way you'd change the oil in a car.
What You Need: Four Ingredients, One Tool
Here's the good news — you don't need specialty degreasers or harsh chemicals. I keep my routine to four things that live in most kitchens already:
- Baking soda — the mild abrasive and degreaser that handles 90 percent of the work.
- White vinegar — cuts through mineral film and finishes the stainless surfaces without streaks.
- Dish soap — the grease-cutter that powers the hot soak for filters.
- A soft sponge or microfiber cloth — never steel wool on stainless steel, ever. I'll explain why in a moment.
That's it. Everything else — a small bowl, hot water, maybe an old toothbrush for the grates — is optional.
Key rule I learned the hard way: on stainless steel, the abrasive matters more than the product. Steel wool and scouring pads leave fine scratches that catch grease forever after. Soft sponge, gentle pressure, always.
The 15-Minute Method: Step by Step
Set a timer. I mean it — the whole point of this routine is that it fits inside a normal task, like waiting for a pot of water to boil. Here's how the 15 minutes break down.
Minute 0–2: Prep and Safety
Turn the hood fan off and unplug the unit or switch off the breaker if yours is hardwired and you plan to touch the fan area. Safety first. Grab a dry cloth and knock the loose dust off the top surface and edges of the hood — you don't want that dry dust turning into wet grime later.
Minute 2–3: Remove the Filters
Most range hoods have two or three aluminum mesh filters held by a small latch, spring tab, or thumb screw. Remove them all and set them aside. If you've never done it before, peek at your owner's manual first — knowing the release mechanism saves you a minute of fumbling.
Minute 3–5: Start the Filter Soak
Fill your sink or a large basin with the hottest tap water you can stand (about 120 to 140°F), add a good squirt of dish soap, and — this is the pro trick — add a generous scoop of baking soda, roughly a quarter cup. Drop the filters in, fully submerged, and leave them to soak while you work on the rest of the hood. The soak does the hard labor while your hands are busy elsewhere.
The pro move is a hot, soapy, baking-soda soak. Cold water won't lift weeks of hardened grease; the heat activates the soap and soda, and the filter basically cleans itself while you handle the rest of the hood.
Minute 5–10: Wipe the Exterior
Now, with the filters soaking, take a microfiber cloth dipped in warm water with a few drops of dish soap, and work the entire exterior of the hood. Top, sides, front, and the underside you can reach. For stainless steel, wipe in the direction of the grain and follow immediately with a dry cloth to avoid water spots.
For stubborn baked-on spots, make a thin paste of 3 parts baking soda to 1 part water, apply it with a soft cloth, let it sit for a minute, then gently buff it off. The paste lifts residue without scratching.
Minute 10–13: Degrease the Interior and Fan
Here's the part most people skip, and it's the part that actually keeps grease out of your air. Look under the filter housing and you'll see the fan wheel and interior shell. Dip a cloth in hot soapy water, wring it out well — you don't want water dripping into the motor — and wipe down the interior and fan blades as far as you can reach.
For caked-on grease, use a toothbrush dipped in the baking-soda paste to work into the blade crevices, then wipe clean. If it's truly stubborn, mist a little vinegar on the paste and let it fizz for a minute before wiping — the bubbles loosen the oil.
Minute 13–15: Rinse, Dry, Reassemble
By now your filters have soaked a good eight to ten minutes. Drain the sink, rinse each filter under hot running water — the grease should lift off with your fingertips — and scrub any remaining bits with a soft brush. You'll see the water run clean, which is deeply satisfying.
Dry the filters with a towel, dry the interior surfaces you cleaned, and reassemble everything. Filters slide back in exactly the way they came out. Run the fan for a minute to confirm it's seated and quiet. Done.
When the Standard Routine Isn't Enough
Every household is different, and sometimes 15 minutes won't crack a filter that's been baking for two years. If yours are still greasy after the soak, try this escalation ladder:
- Longer soak. An overnight soak in hot soapy water with a quarter cup of baking soda is the nuclear option, and it works on almost anything.
- Boiling soak. For truly caked filters, put them in a pot of water with dish soap, bring it to a gentle simmer for 10 minutes, and let it cool before rinsing. Be careful — the metal will be hot.
- Dishwasher, top rack. Many aluminum mesh filters are dishwasher-safe (check your manual). Run them on a hot cycle with the grease-heavy load.
- Replace. If a filter is dented, corroded, or so clogged that no amount of cleaning restores airflow, buy a replacement. They're inexpensive, and a new filter moves more air than a cleaned old one ever will.
The moment you realize a filter needs replacing: hold it up to a light. If you can barely see through the mesh, the filter is choked, and even a perfect clean won't bring back full airflow. New filters cost less than you think.
How Often Should You Deep Clean a Range Hood?
This is the question I get more than any other, and the honest answer is: it depends on how you cook.
- You pan-fry, sear, or fry in oil at least a few times a week — deep clean every 4 to 6 weeks.
- You cook moderate amounts, some sautéing and roasting — deep clean every 3 months.
- You mostly boil, simmer, and bake — deep clean twice a year.
The exterior deserves a wipe-down every couple of days as part of your normal dish routine — thirty seconds prevents that sticky film from ever building up. And here's a good habit I've adopted: whenever the filter looks greasy to you, it's already past due. Our eyes stop registering gradual buildup, so if you're noticing it, it's time.
Why Harsh Chemicals Are the Wrong Answer
I've seen a lot of "heavy duty" degreasers in my time, and I want to make a case for avoiding them. They work — briefly — but they come with costs:
- Many leave a residue on stainless that actually attracts more grease and dust.
- The fumes are harsh in an enclosed kitchen, and you're venting those solvent vapors straight through the fan you just cleaned.
- On coated or painted hoods, aggressive solvents can strip the finish.
The baking soda and vinegar approach gets you 95 percent of the result with none of the downsides. For the rare deeply greasy interior job, a food-safe degreaser that rinses completely is the better middle ground.
How to Keep Buildup From Coming Back
Deep cleaning is only half the battle; the other half is not letting it get bad in the first place. Three habits make the biggest difference:
- Wipe the exterior every time you cook. Sixty seconds at the end of dinner, when the hood is still warm and the grease is still liquid, is faster and easier than any deep scrub later.
- Use the fan early and leave it on late. Turn the fan on before you start cooking, not after you see smoke, and leave it running for five minutes after you finish to clear residual steam and grease from the air.
- Clean the filter the moment it looks dull. A quick rinse in the sink every few weeks keeps the deep clean at 15 minutes instead of 45.
Frequently Asked Questions
Can I clean a range hood filter in the dishwasher? Often, yes — many aluminum mesh filters are dishwasher-safe, but check your manual first. Skip the dishwasher if the filter has electrical components or the manual warns against it.
Will baking soda scratch my stainless steel? No, not when used as a soft paste with a cloth or sponge. It's mildly abrasive but softer than the steel surface — just rinse and dry well afterward.
My hood has a carbon filter, not a metal one. What then? Carbon filters can't be deep-cleaned — they absorb odors and must be replaced on schedule (usually every 3 to 6 months, depending on use). Never try to scrub one back to life; you'll damage it.
Is a ventless hood worth cleaning at all? Yes. Ventless hoods recirculate air through a carbon filter, so grease buildup in the housing and fan actually gets pushed back into the room. Cleaning them matters even more.
What if my fan is noisy after cleaning? A little noise right after reassembly is normal as you seat the filters. If it persists, check that everything is latched and nothing is caught in the fan blades.
Key Takeaways
- A deep-clean routine is 15 minutes, four ingredients — baking soda, vinegar, dish soap, warm water — and one soft sponge.
- Soak the filters first in hot, soapy, baking-soda water, then clean the rest of the hood while they soak.
- Always wipe stainless steel with the grain and never use steel wool or harsh scrubbers.
- Greasy filters restrict airflow, recirculate grease into your kitchen, and are a fire hazard — cleanliness is safety.
- Deep clean every 4 to 6 weeks if you pan-fry regularly; twice a year is the absolute minimum.
- Keep buildup away with a 60-second exterior wipe after cooking and by running the fan before — not after — you start cooking.
The Bottom Line
The range hood is the hardest-working appliance you'll never thank. It quietly swallows the grease, steam, and smoke of every single meal you cook, and it asks for fifteen minutes a month in return. I spent years avoiding that fifteen minutes, and I've seen the result in a hundred home kitchens — the sticky hood, the weak fan, the lingering smell. Tonight, do one thing: take the filters out, soak them in hot soapy water with a scoop of baking soda, and wipe down the exterior while they soak. When you slide those gleaming filters back in and turn the fan on, you'll hear the difference before you see it.
And if your kitchen is due for other maintenance that makes cooking effortless — a sharpened knife, a descaled coffee maker — I've covered those too, because the best cooking starts with cared-for equipment.
Published on 2026-08-13 by the QuiteRecipes team (Jamy & Kaïna).
Related Articles
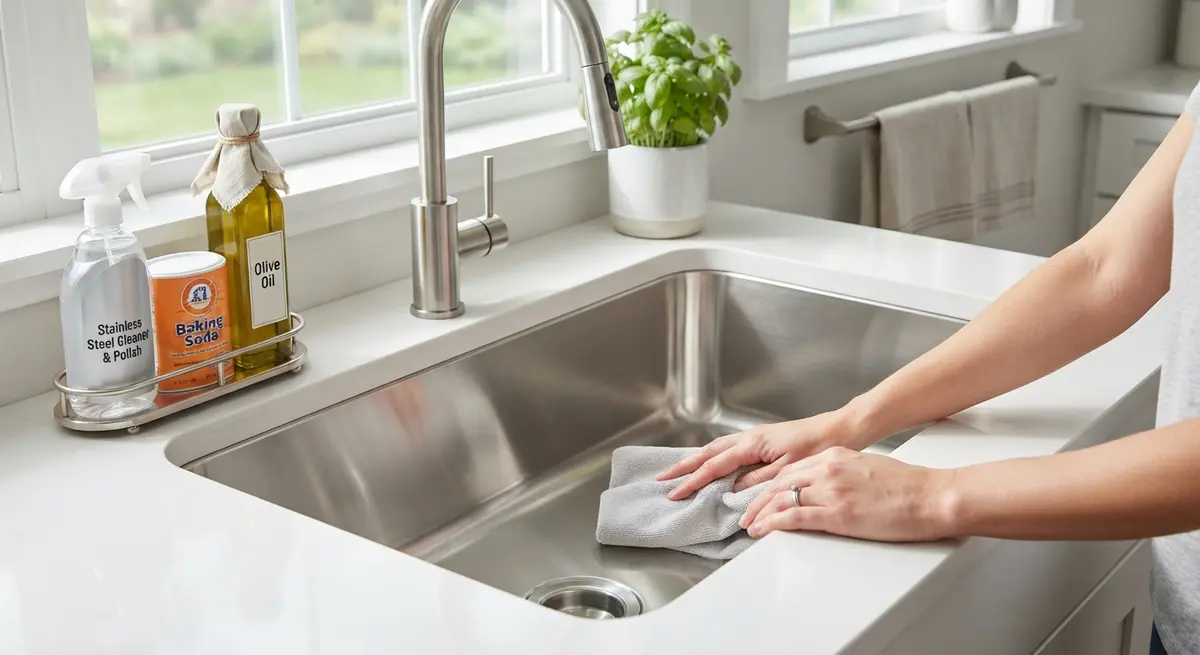
How to Make a Stainless Steel Sink Shine Like New
A stainless steel sink isn't supposed to look water-spotted. With the right wipes, the right direction, and one pantry ingredient, you can restore that mirror finish in minutes.

5 Cozy Decor Ideas to Make Your Kitchen Feel Like Home
The coziest kitchens aren't magazine spreads — they're layered light, soft textures, living green, good smells, and room to gather. These five ideas make any kitchen feel like home.

7 Simple Space-Saving Hacks for Small Kitchens
A tiny kitchen can still feel open and work beautifully. These seven hacks — from vertical storage to multitasking tools — double your usable space without a renovation.
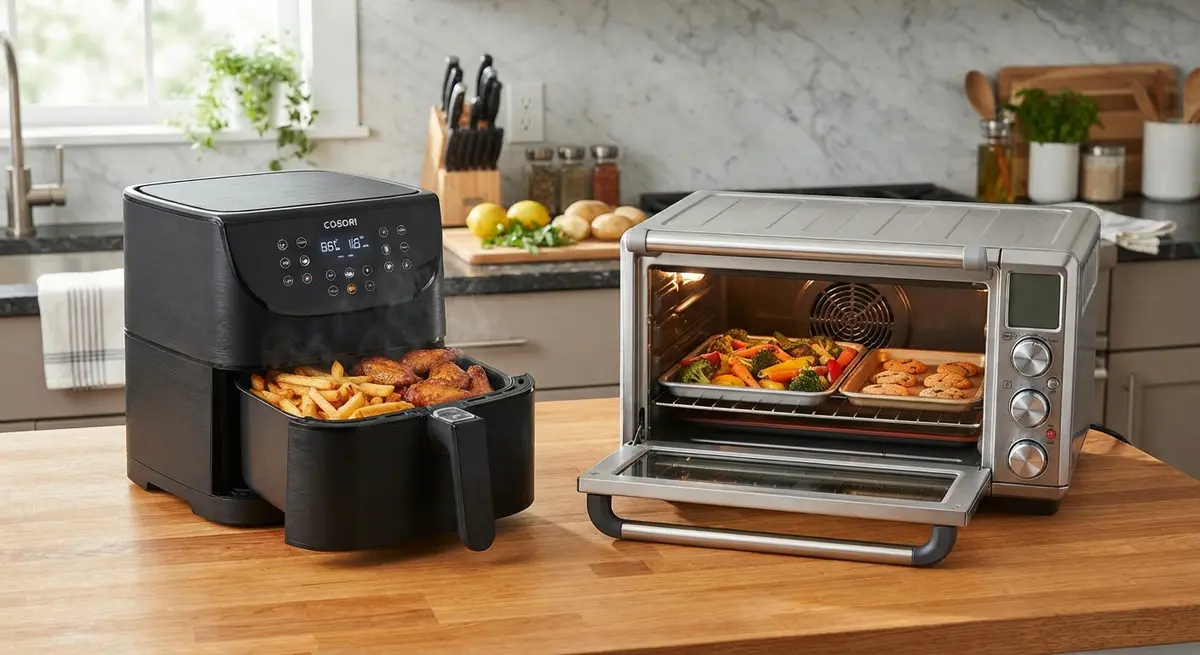
Air Fryer vs. Convection Oven: Which Earns Its Space?
An air fryer is a small convection oven with a built-in fan — but the differences matter. Compare speed, crispiness, capacity, energy, and price to decide what earns your counter.
About the Authors
This recipe and guide was developed, tested, and approved in our home kitchen and daily life. Jamy is a retired Food Service District Manager and Early Childhood Program Manager who spent his career overseeing multi-site restaurant operations, large-scale culinary production, and daycare menu management. Kaïna brings the ultimate real-world test: making sure it brings ease and joy to our kids on a busy weeknight.
Read more about our professional background and philosophy →