How to Turn Kitchen Scraps into Incredible Homemade Stock
By the QuiteRecipes team (Jamy & Kaïna)
Store-bought stock is fine — homemade stock from scraps is transformative and free. Here's the exact bag-in-the-freezer method, what to save, and what to skip.
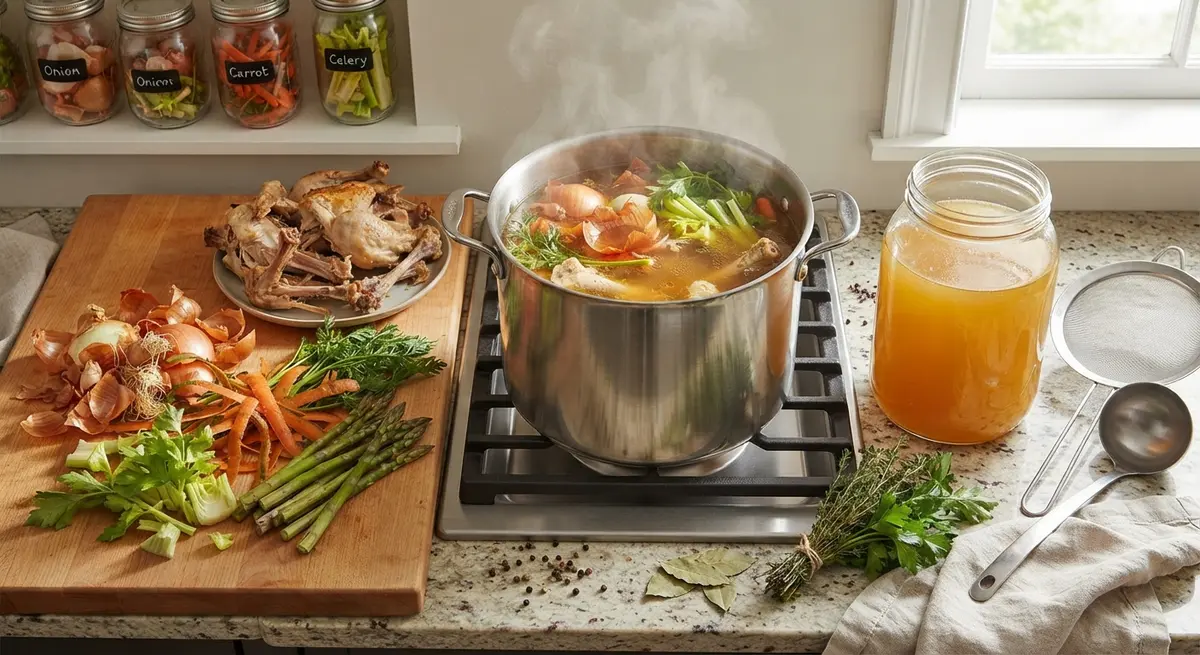
The first time I made stock from my own vegetable scraps, I felt like I'd discovered a secret society. Everything I used to throw away — carrot peels, onion skins, herb stems — went into a pot and came out as the richest, most flavorful base liquid I'd ever cooked with. And it cost me nothing. I've since called homemade stock the ingredient that pays for itself twice: once when I don't buy it, and again when it transforms dinner.
If you've ever felt slightly guilty about the bin full of peelings after a big cook, this is the antidote. An ordinary dinner's worth of trimmings can become the most valuable ingredient in your fridge — and the method is so simple it almost feels like cheating. Let me show you the exact system I use.
Why Homemade Stock Beats Cartons
Cartons of stock are convenient, but they're mostly water with flavoring added, and they bring their own seasonings with them. Homemade stock from scraps is concentrated flavor you build from bits you'd otherwise throw away:
- It's free. Everything in it was already bought and was headed for the bin.
- It's deeper. A long, gentle simmer extracts flavor from trimmings and bones that a carton can't match. Store-bought stock is often boiled hard for speed, which pulls out bitterness along with flavor.
- It's salt-free. You control seasoning completely, so it works in any recipe without re-oversalting a final dish.
- It's flexible. Use it for grains, soups, sauces, risotto, braises — everything cooked in stock picks up its depth.
The best comparison I can make: carton stock is a sketch; homemade is the finished painting. Both can hold a role, but only one changes the character of what's in your pot.
The Method: A Bag in the Freezer
This is the entire system. There's no pressure and no fancy equipment:
- Get a large freezer-safe container or bag — I use a big zipper bag standing in a bowl so it holds its shape.
- Every time you prep vegetables, add the scraps to the bag instead of the trash.
- When the bag is full (or you want stock), roast the scraps if you like deeper flavor, then simmer with water.
- Strain, cool, portion. Done.
That's the whole habit. The "scrap stock" system is passive — you collect on autopilot, then you make stock when the bag's full. One full bag is roughly enough for a 4-6 quart pot, depending on how tightly you pack it.
The one habit that makes it stick: keep the bag somewhere you actually see it. I keep mine standing in the fridge door, not the freezer shelf, so every time I grab a veggie I'm reminded to drop the trimmings in. Out of sight is out of the bin.
What to Save (and What to Skip)
The difference between good stock and muddy, bitter stock is largely filter — what goes in and what stays out.
Save these — they make good stock:
- Onion skins, ends, and any onion trimmings. Skins add color and sweetness; this is the backbone of a deep stock.
- Carrot peels and ends — sweetness and color.
- Celery trimmings and leaves — the aromatic backbone of classic stock.
- Garlic skins — a little is lovely; too much turns bitter, so keep it modest.
- Mushroom stems — a big umami boost. Dried stems especially shine.
- Herb stems — parsley, thyme, oregano stems are where a lot of flavor actually lives. Most people toss the best part.
- Leeks, leek greens, scallion tops, fennel trimmings — gentle aromatics that brighten stock.
- Squash skins and peels, corn cobs — corn cobs make a surprisingly sweet, corn-forward stock; squash adds body.
- Bones — chicken carcasses, beef bones, fish frames. Roast them first for deeper flavor.
Skip these — they make sour, bitter, or muddy stock:
- Brassicas: broccoli, cauliflower, cabbage, Brussels sprouts. They turn stock bitter and sulfury — the fastest route to a batch you'll dump.
- Potatoes: they make stock cloudy and starchy. Mash them into soup instead.
- Beets and eggplant: bitter, chalky, or muddy colors that tint everything.
- Anything spoiled or moldy. The compost bin and the stock bag serve a different line: rot goes out, thrifty-but-fresh goes in.
- Too much pepper or strong spice: you want neutral-stock flexibility so it works in any dish.
A good rule of thumb: if it's bright, aromatic, and fresh-tasting, it's in. If it's strongly colored, waxy, or bitter, it's out.
The Golden Ratio (and Letting It Be Simple)
Home stock doesn't need a recipe — that's the joy of it. The base ratio to remember is roughly equal parts scraps and water. In practice:
- Fill your pot halfway with scraps (packed loosely).
- Cover with cold water, about an inch above the scraps.
- Bring to a low simmer, never a rolling boil.
- Simmer for 45 minutes to 2 hours for vegetables; 2-4 hours for bones.
- Strain, cool, portion.
Why cold water and a low temperature? Cold water extracts flavor slowly and evenly. Boiling agitates the pot, emulsifies fats and proteins, and turns stock cloudy and slightly greasy. A gentle simmer — the surface should barely shiver — keeps it clear and clean-tasting. This is the one technical rule that separates home stock from thin, cloudy water.
To Roast or Not to Roast
Two styles of stock, and both are worth having in your pocket:
- Pale / light stock: no roasting. Clean, neutral, and delicate. Best for light soups, poaching liquids, and dishes where you want the ingredient's own flavors forward.
- Brown stock: roast bones and vegetables in a hot oven (400-450°F) until deeply browned before simmering. That Maillard browning adds a rich, roasted depth that makes stews, gravies, and braises sing.
For vegetables, roasting concentrates sweetness and adds body — I usually roast for brown stock and skip for pale. For bones it's almost essential; unroasted bones read bland and slightly gelatinous. Try both approaches once and you'll know exactly which pot you're making by the color of the aromatics.
Bones: Chicken, Beef, and Fish
Each bone type brings its own character, and knowing which to keep means better stock without mystery:
- Chicken: the everyday hero. A roasted carcass plus onion, carrot, and celery gives you a golden all-purpose stock in about 2 hours. Save the giblets and wing tips too.
- Beef: needs longer — 4-6 hours — and benefits from roasting the bones first. Expect a deeper, richer, more gelatinous result that turns any braise into a glaze.
- Fish: the quick one — 30-45 minutes max, and never boil it. Fish frames and heads make a delicate, briny stock perfect for chowders and seafood risotto. Ask your fishmonger; frames are often free.
- Bones generally: simmering extracts collagen, which gives stock its body and a luxurious mouthfeel. You can feel it when a cooled stock sets like a firm jelly — that's the finish line.
Do Not Salt the Stock
This is the rule I repeat most: salt the final dish, never the stock. Unseasoned stock stays flexible — you can reduce it, season it into a sauce, and use it in any recipe without oversalting. The moment salt goes in, it stops being an ingredient and becomes a soup base. Make it plain, season at the finish, and you'll never ruin a dish by stocking it.
This rule also makes storage easier — an unsalted quart reduced into a glaze still makes a perfect pan sauce, and an unsalted stock brightens with a squeeze of lemon at the end without tasting wrong.
How to Store It (and Make It Last)
Homemade stock is a gift that keeps giving if you portion it well:
- Fridge: 4-5 days tightly covered. Skim the fat layer before refrigerating if you want a clean, lean stock; keep it if you like richness.
- Freezer jugs: portion into freezer bags or jars, leaving an inch of headroom for expansion. Flatten the bags to stack like frozen panels — they thaw in minutes.
- Pro shake: freeze stock in an ice cube tray. Drop a cube or two straight into any sauce, pan deglaze, or soup without thawing. This is my absolute favorite move for weeknights.
Label everything with the date and what's inside. A forgotten unlabeled bag of brown liquid is a sad archaeology dig; a labeled one is a cheerful shortcut.
The Creative Ways to Use It
Once you have stock on hand, the applications multiply fast:
- Cook grains in it. Rice, quinoa, farro, and couscous steamed in stock instead of water taste like they've been cooked for the occasion.
- Use it for risotto and polenta. These are stock sponges; the depth you built in the pot lands squarely in the bowl.
- Deglaze with it. A splash of stock instead of wine lifts every pan sauce, and it's alcohol-free if that matters to you.
- Sip it. A mug of hot, well-seasoned vegetable stock is a genuinely comforting cold-weather drink.
- Freeze it as cubes for sauces — the fastest possible shortcut to "this dinner tastes like I've been cooking for hours."
The One-Pot Pro Version: Make Stock While You Cook
Don't wait for the bag to fill. The next time you roast a chicken:
- Roast the chicken, carve it, and enjoy dinner.
- Put the carcass, skin, and any pan drippings (skim the fat first if you prefer) in a pot with your collected scraps.
- Cover with cold water and simmer low for 2 hours.
- You now have the best poultry stock you've ever tasted, made from a dinner you already had.
The beauty of this version is that you've already paid for the ingredients twice — once as dinner, once as raw material. And a stock you make from your actual chicken's drippings will always beat anything from a carton.
Freestyle Without a Recipe
Stock is the most forgiving thing in the kitchen — a blend of whatever's in the bag, covered in water, simmered gently. It never needs to be identical batch to batch; in fact, it shouldn't be. Your stock will taste like your kitchen — the last month of what you actually cooked and saved. That's the point, and it's why no two homemade stocks are the same.
The only two rules that stay fixed: save the good scraps and simmer, don't boil. Follow those, and your stock will always beat the carton — for free.
FAQ
How long does scrap stock keep in the fridge?
About 4-5 days tightly covered. Beyond that, freeze it — stock freezes beautifully for months.
Why does my stock go bitter?
Check for brassicas (broccoli, cabbage, Brussels sprouts), over-roasted or burnt aromatics, or a boil instead of a simmer. All three are classic bitterness sources.
Can I use onion skins, or do they taste bad?
Use them — onion skins add sweetness and color. The one caveat is that very bitter or old skins can add a note; fresh ones are great.
Do I need bones for stock?
No. A beautiful vegetable stock needs only scraps. Bones add collagen and body — that's a bonus, not a requirement.
Is cloudy stock bad?
Only aesthetically. Cloudy stock tastes fine; it comes from agitating or over-boiling. If it happens, use it anywhere you don't need crystal clarity, like stews and braises.
Key Takeaways
- Keep a labeled bag in the fridge or freezer and add trimmings as you prep.
- Save aromatics, sweet roots, herb stems, mushroom stems, and roasted bones.
- Skip brassicas, potatoes, beets, and anything spoiled — they ruin the pot.
- Equal parts scraps and water, cold start, low simmer: 45 minutes for vegetables, 2-4 hours for bones.
- No salt, ever — season the finished dish instead.
Make Stock from Tomorrow's Kitchen
The next time you're about to throw away an onion skin or a chicken carcass, don't. That's not trash — that's dinner's foundation. One bag in the freezer, an hour of gentle simmering, and you'll have the most versatile ingredient you own, made entirely from what was already yours. Your future soups, sauces, and risottos will thank you.
Published on 2026-08-13 by the QuiteRecipes team (Jamy & Kaïna).
Related Articles

Building Flavor: The Chef's Method for a Balanced Dish
When a dish tastes 'flat,' it's almost never because you needed more ingredients — it's because one of the five tastes is missing. Here's how to diagnose and fix it.
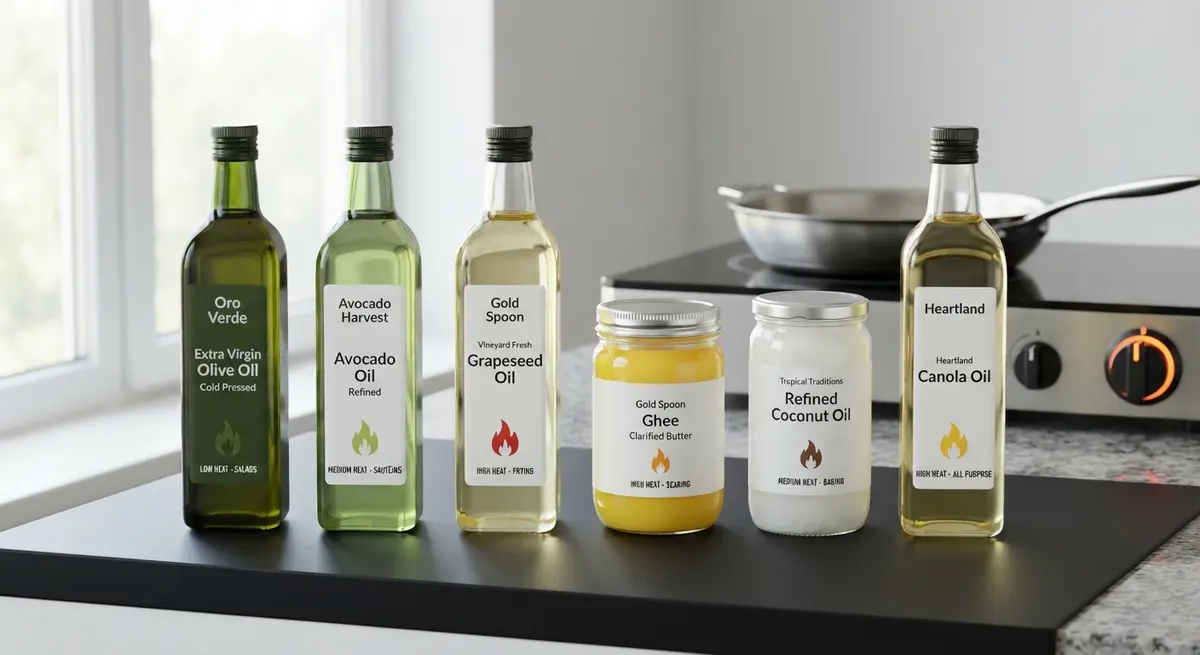
How to Choose the Right Cooking Oil for the Heat
The best oil for a salad is the worst oil for searing. Understanding smoke points — the temperature where oil burns — turns every bottle in your pantry into the right tool.
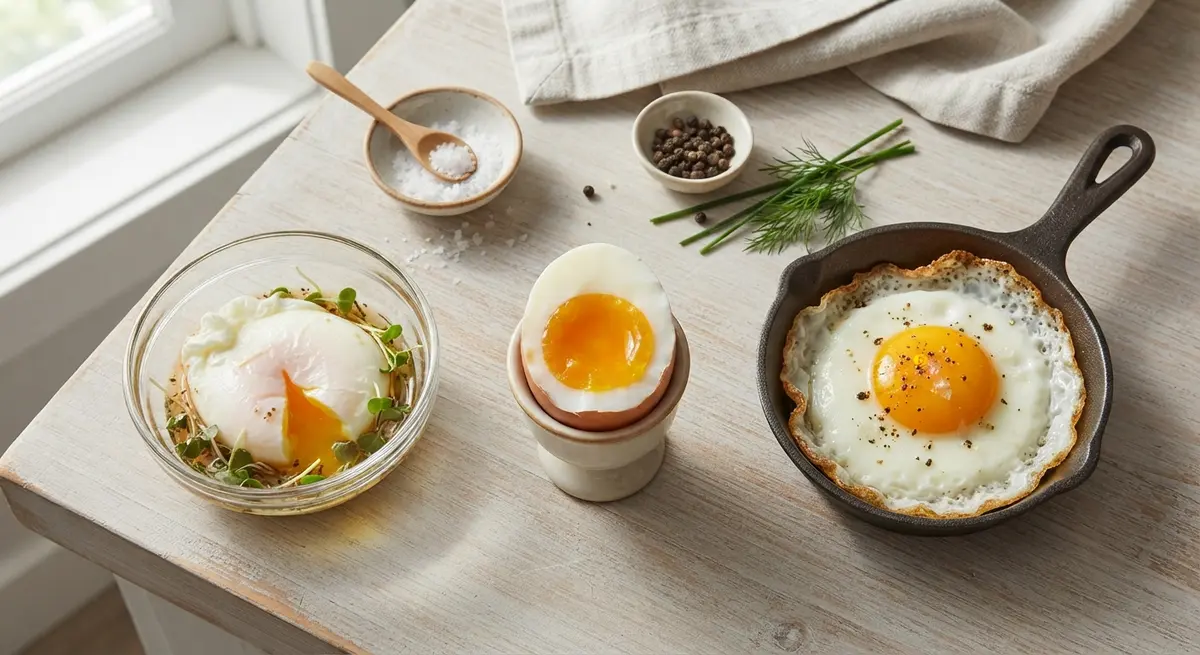
How to Cook Eggs Perfectly: Poached, Soft-Boiled, or Fried
Eggs are the cheapest test of a cook's skill. Runny yolk, tender set whites — here are the exact minutes and methods for poached, soft-boiled, and fried eggs that work every time.
Easy Swaps to Make Your Kitchen More Eco-Friendly Every Day
Going greener in the kitchen doesn't mean a full zero-waste conversion. These small, daily, budget-friendly swaps genuinely cut waste, energy, and cost — without the guilt trip.
About the Authors
This recipe and guide was developed, tested, and approved in our home kitchen and daily life. Jamy is a retired Food Service District Manager and Early Childhood Program Manager who spent his career overseeing multi-site restaurant operations, large-scale culinary production, and daycare menu management. Kaïna brings the ultimate real-world test: making sure it brings ease and joy to our kids on a busy weeknight.
Read more about our professional background and philosophy →