How to Dice an Onion Like a Pro (Without Shedding a Single Tear)
By the QuiteRecipes team (Jamy & Kaïna)
Uniform onion dice aren't just prettier — they cook evenly, which means better flavor. Learn the claw grip, the horizontal cuts, and the fridge trick that stops the tears before they start.
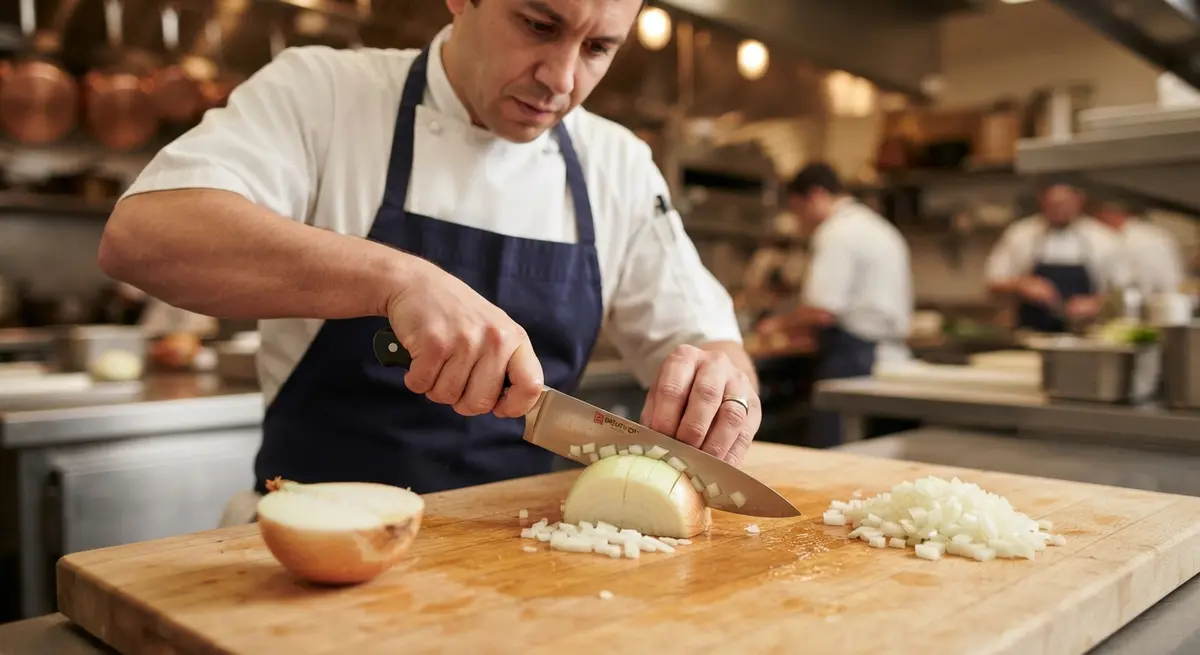
I used to chop onions like I was fighting a small, aggressive vegetable. Big uneven chunks, a crying face, and knuckles that sometimes got too close to the blade. I treated prep as the boring chore you have to survive before the actual cooking begins. Then a line cook showed me how to do it properly, and it took one afternoon to change everything about the way I work in the kitchen. Now I can dice an onion in about thirty seconds, without a single tear, and it's the skill I use more than any other. I want you to have it too.
Here's the honest truth I've learned after years behind burners and a lot of onions: this is not a talent thing. It's a sequence of small, learnable habits — the grip, the order of cuts, the knife, the prep. Change those four things and you've permanently upgraded every meal you'll ever make, because almost everything savory starts with an onion.
The Real Reason Onions Make You Cry
The tears aren't punishment for bad technique — they're chemistry, and understanding the chemistry is what makes the fix obvious. When you slice an onion, you rupture thousands of tiny cells. Damaged cells release an enzyme called alliinase, which mixes with sulfenic acids inside the onion and instantly produces a volatile gas called syn-propanethial-S-oxide. That gas rises from the cut surface, dissolves in the moisture of your eyes, and forms a dilute sulfuric acid. Your eyes water to flush the irritant away.
Knowing that changes your strategy. You can't stop the gas from forming, but you can slow it down, redirect it, and reduce how much of it gets made. That knowledge is worth more than any superstition.
What Actually Works to Stop the Tears
I've tested every folk remedy you've heard — chewing gum, a spoon in your mouth, lighting a candle, holding bread between your lips. Most of it is theater. Here's what genuinely works:
- Chill the onion for 10-15 minutes before cutting. Cold slows the enzyme reaction dramatically. A warm onion is a crying onion. Don't freeze it — you want it firm, not rock-hard, because frozen onions turn to mush under the blade.
- Use a sharp knife. This is the biggest one. A dull blade crushes cells instead of slicing them cleanly, releasing far more gas into the air. A sharp knife does less damage to each cell and cuts faster. Sharper knife = fewer tears, full stop.
- Cut near a vent or under running water. The gas is heavier than air in some spots. A gentle breeze redirects it away from your face, and running water pulls it down before it can reach your eyes.
- Leave the root intact as long as possible. The root end holds the highest concentration of the sulfur compounds that become the tear gas. Trim it last, or not at all. This is also the single best trick for cleaner cuts.
Choose the Right Onion for the Job
A pro doesn't just grab whatever's in the drawer. Different onions are built for different purposes, and choosing right makes your dice better before you even start:
- Yellow onions are the workhorse — the highest sulfur content, which gives them the deepest savory flavor when cooked. Best for soups, stews, curries, and caramelizing.
- White onions are sharper and more pungent raw, with firmer flesh. Ideal for salsas, Mexican cooking, and anywhere the onion should hold its crunch.
- Red onions are mild and beautiful raw, with that striking color. They're a salad, garnish, and pickle onion. They also bruise easily — handle them gently.
- Sweet onions (Vidalia, Walla Walla, Maui) have low sulfur and high sugar. Lovely raw and grilled, but they fall apart fast when cooked and don't caramelize as deeply.
For most weeknight cooking, reach for the yellow ones. And one more thing: pick onions that feel heavy for their size with tight, papery skin. A soft spot or a sprouting top means the cells are already breaking down, which makes them gummier under the knife.
The Knife Makes the Difference
I'm not here to sell you a $300 blade. But the right knife for onion work is one that's sharp, and not too big. A chef's knife between 8 and 10 inches is the standard choice because its curve lets you rock the blade. A smaller utility knife works too — the key is that the blade's edge meets the board cleanly.
If your knife can't slice a ripe tomato without squashing it, sharpen it before you practice. A properly sharpened knife is safer than a dull one, because it does the work with less downward force — you aren't pushing hard enough for the blade to slip. I cover the full sharpening process in another guide here on the site; twenty minutes on a stone will transform this entire exercise.
The Claw Grip: Your Safety Net
Before any cut, fix your grip. Curl the fingertips of your guiding hand inward so your knuckles point at the blade. Rest the flat side of the blade against your knuckles — the knife literally cannot reach your fingertips this way. Your thumb tucks behind, holding the onion steady, and it can ride slightly forward to grip the round side.
This grip feels awkward for about two minutes. Then it feels wrong to hold a knife any other way. The claw isn't about looking fancy; it's the mechanical guarantee that the blade has a hard surface to slide against instead of a soft finger. Every kitchen injury I've ever seen in a professional kitchen came from a moment someone flattened their hand out and looked away. The claw removes that whole category of accident.
How to Dice an Onion, Step by Step
Follow these six steps and you'll get clean, uniform dice every time. Once you've done it ten times, it will take you about thirty seconds per onion.
- Trim the top. Cut off the stem end, leaving the root end attached. The root is your anchor — it holds everything together through the whole process.
- Halve it pole-to-pole. Cut through from top to root so you have two halves, root intact on each. Peel back the skin from each half — it usually comes off in one or two pieces. Leave the root end alone.
- Slice horizontally toward the root making two or three shallow cuts, never cutting through the root itself. These are the horizontal "planks" that make the dice uniform. The number of cuts depends on how big your onion is.
- Slice vertically across the width, again stopping short of the root. Keep your cuts evenly spaced, about the width you want your final dice.
- Chop straight down through the vertical slices. The root holds everything in a neat pack while you chop, so pieces don't scatter.
- Discard the root when you're done — then flip the tip over for the few hidden layers on the reverse side.
The result: clean, uniform dice that cook evenly instead of burning in patches. If you want an even longer cut for stir-fries, skip step 3 and instead make thicker vertical slices — that gives you half-moons and strips rather than dice.
The Three Dice Sizes You'll Actually Use
You only need three sizes in your whole cooking life, and learning them means you can follow any recipe without squinting at the instructions:
- Fine dice (¼ inch / 6 mm): for sauces, soups, dressings, and anything where the onion should almost disappear into the background. Mirepoix, pan sauces, compound butters.
- Medium dice (½ inch / 12 mm): the everyday default for stews, sautés, curries, and most weeknight cooking. It's the size most recipes mean by "diced onion."
- Large dice (¾ inch / 18 mm): for braises and slow dishes where the onion should stay visible, sweet, and soft — a big-pot dish where pieces melt but still have presence.
A quick train-your-eye trick: a fine dice is about the size of a pencil eraser, a medium dice is roughly a chickpea, and a large dice is closer to a grape. Match your vertical cuts to the target size and keep them even — evenness is the whole game.
Why Uniform Pieces Matter
This is the fact that makes the technique worth learning. Onion pieces of mixed sizes cook at completely different rates. The small ones turn brown, burn, and go bitter while the big ones stay crunchy and sharp. A pan of onions that hits the heat together builds a sweet, golden, caramelized base for your dish; a pan of uneven bits produces a muddle of acrid crunch and overcooked mush.
I've ruined more than one soffritto this way in my early years, and miso-base dishes where burned onion bits dominate. Uniform dice mean every piece hits the Maillard reaction at the same moment — that's the chemical browning that creates deep flavor — and that one change will improve the backbone of almost everything you cook.
The Common Mistakes That Sabotage a Good Dice
I watch home cooks make the same four errors again and again. Fix these and you're most of the way there:
- Using a dull knife. The most common, and the cause of half the tears and half the uneven pieces. Sharpen first.
- Chopping only vertically. Without the horizontal slices, you get wedges, not dice. The horizontal cuts are non-negotiable for a true dice.
- Laying your fingers flat on top of the onion. You can't see the blade, you can't control it, and you risk your fingertips. Use the claw.
- Pressing down hard. Let the knife's weight do the work. Pressing crushes the onion, squeezes out juice, creates tears, and makes the cuts ragged.
Store the Rest the Right Way
Cut onions oxidize fast and turn that unappetizing gray-green in the fridge. Store them in an airtight container and use within 24-48 hours — they're safe to eat longer, but the flavor and texture decline quickly.
A better plan: chop a few onions at once (meal prep, not punishment — put on some music and they're done in ten minutes), freeze the extras flat on a baking sheet until solid, then transfer to a bag. Frozen diced onion goes straight into the pan from frozen, no thawing needed, and it saves you a guilt-inducing "I'll just skip the onion tonight" moment for weeks. It won't be quite as crisp as fresh for salads, but for everything cooked, it's indistinguishable.
What About the Root Trick and the Rinse?
Two myths worth clearing up. The first: some people trim the root entirely before cutting, thinking it prevents tears. It doesn't — it makes things worse, because the root is exactly where those sulfur compounds concentrate. Keep it intact and lose it at the end.
The second: a classic tip says to rinse diced onion in cold water to make it milder. There's real chemistry here — rinsing washes away some of the volatile sulfur compounds and softens the bite, which is genuinely useful for raw preparations like salads, salsas, and garnishes. But for cooking, you want those compounds. They're the foundation of the onion's sweet, savory character the moment they hit heat. So: rinse for raw, skip the rinse when the onion is going into the pan.
FAQ
Why does my chopped onion turn my pan bitter?
Burned onion, plain and simple. Too-hot heat, or uneven pieces where the small ones burn before the big ones cook. More uniform dice and medium heat fix it.
Does soaking onions in water really stop the tears?
For raw prep, yes — it rinses away some sulfur compounds. It doesn't work for chopping, because you're always exposing fresh cut surfaces.
Is a food processor a good substitute for dicing?
For texture where you want even, separate dice, no — a processor smashes and tears. It's fine for a rough chop or a very fine puree, not for dicing.
How long does diced onion keep in the fridge?
About 24-48 hours airtight before it goes gray and loses bite. Frozen, it keeps for months.
Do red onions cause more tears than yellow?
Not usually. The tear factor depends more on the age and sharpness of the onion than its color; the variety matters most for flavor and texture.
Key Takeaways
- The tears are chemistry: chill the onion, use a sharp knife, cut near airflow, and keep the root intact until the end.
- The claw grip makes your fingers physically unreachable to the blade.
- A real dice needs the horizontal cuts — vertical chopping alone gives you wedges.
- Match your cut width to the size you need: fine, medium, or large.
- Even pieces cook evenly, and even cooking is what builds sweet, golden onion flavor instead of bitter scorch.
Practice Tonight
Grab two onions and time yourself. The first one, go slowly and follow every step deliberately. The second, aim for two minutes. By the third onion you'll be faster, tear-free, and wondering why you ever fought with your produce in the first place. Onion work is the gateway skill — once you've mastered it, every other knife technique (celery, carrots, garlic) clicks into place through practice in the same methodical way. That's the win.
Published on 2026-08-13 by the QuiteRecipes team (Jamy & Kaïna).
Related Articles
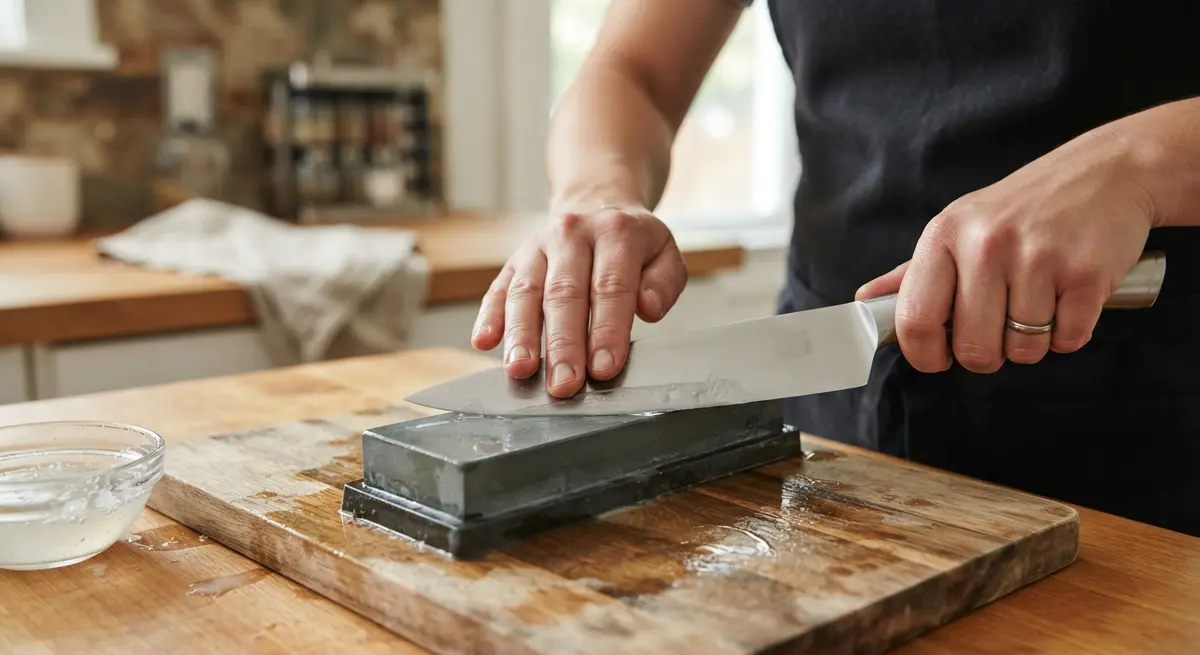
How to Sharpen Kitchen Knives at Home: A Step-by-Step Guide
Most 'dull' knives aren't dead — they just need aligning. Here's when to steel, when to sharpen, and the exact angles that bring any blade back to slicing perfection.

How to Cook Eggs Perfectly: Poached, Soft-Boiled, or Fried
Eggs are the cheapest test of a cook's skill. Runny yolk, tender set whites — here are the exact minutes and methods for poached, soft-boiled, and fried eggs that work every time.

How to Plate Like a Restaurant Chef
The food is good already — the plate is what makes it memorable. A few simple principles of composition turn any dinner into something that looks like it costs money.
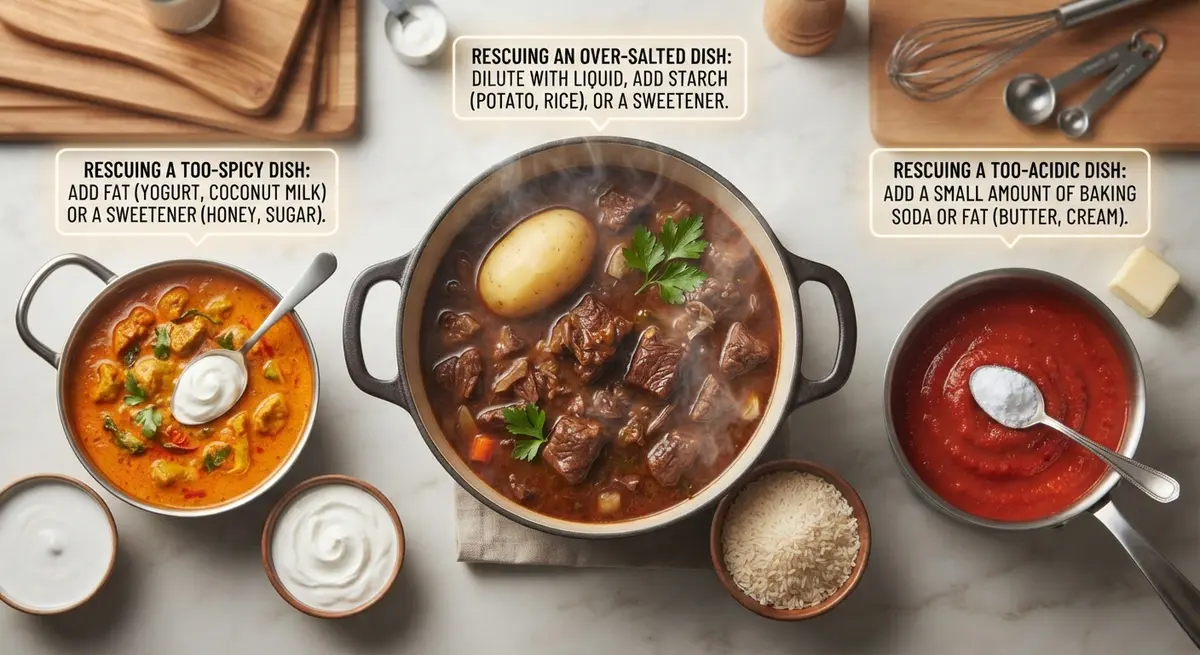
How to Rescue an Over-Salted, Too-Spicy, or Too-Acidic Dish
Every cook has ruined a pot. The good news is that overseasoned food is usually fixable — the trick is knowing which rescue matches the problem.
About the Authors
This recipe and guide was developed, tested, and approved in our home kitchen and daily life. Jamy is a retired Food Service District Manager and Early Childhood Program Manager who spent his career overseeing multi-site restaurant operations, large-scale culinary production, and daycare menu management. Kaïna brings the ultimate real-world test: making sure it brings ease and joy to our kids on a busy weeknight.
Read more about our professional background and philosophy →