Grilling Season 101: Essential Outdoor Cooking Equipment for Beginners
By the QuiteRecipes team (Jamy & Kaïna)
You don't need a $2,000 grill to cook great food outside. Here's the honest starter kit: tools, temperatures, and one upgrade that matters most.
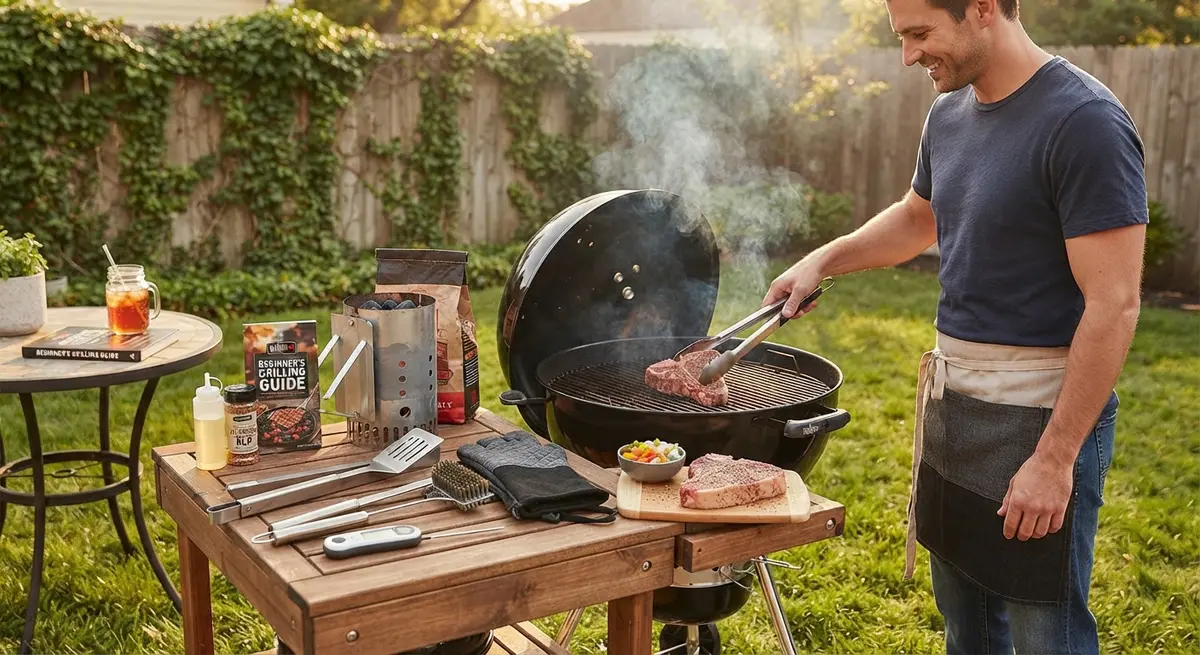
I once bought every gadget a grill aisle could sell: a lid-clamp thermometer, a jumbo spatula, tongs in three sizes, and a basting brush shaped like a boar's bristle mop. My first real cookout was a fiasco. The chicken charred, the burgers smoked out half the yard, and the $40 probe died on its first flip of the grate. Over the next ten summers I grilled almost every weekend, and the honest takeaway is that great outdoor cooking needs about a third of the equipment most beginners buy.
A beginner needs a solid grill, a decent thermometer, and a short list of non-negotiable tools. That's it. I've cooked whole chickens and flatbreads on setups under $300 total, and the food was better than on the fancy rigs. Equipment matters, but technique and temperature matter more.
Choose a Grill That Fits Your Reality
Buy for your habits, not your dreams. A charcoal grill rewards you with deep, smoky flavor but demands a 20 to 30 minute preheat. A gas grill hits cooking temperature in about 10 minutes, holds steady heat, and asks almost nothing of you on a Tuesday night.
- Charcoal kettle grill: a classic 22-inch (55 cm) model runs $100 to $150. Great flavor, easy to use, hard to break.
- Two or three-burner gas grill: about $300 to $500. Turn a knob, wait ten minutes, cook. Easiest learning curve by far.
- Compact tabletop grill: 16 to 18 inches (40 to 45 cm), $60 to $100, perfect for porches and small spaces.
- Kamado or pellet grill: $400-plus. Wonderful flavor, but overkill and slower for a first grill.
If I were starting over, I'd buy a 22-inch charcoal kettle and a cheap instant-read thermometer. That pairing teaches you fire control, the actual skill in grilling. Whatever you choose, leave 3 feet (about 1 meter) of clear space around the grill.
Buy These Tools Before Anything Else
Resist the cookie-cutter sets. Start with five tools that cover 95 percent of cooking.
- Instant-read thermometer: the single most valuable tool. A good one reads in about 3 seconds and costs $25 to $40.
- Long-handled tongs: 16 inches (40 cm) minimum, with silicone tips.
- A stiff wire grill brush: to scrape the grate clean before and after every cook.
- Heat-resistant gloves or mitts: the kind you could grab a hot grate with.
- A spatula with an offset handle: so your knuckles stay clear of the lid's heat.
Skip the novelty gadgets: basting mops, grill mats, and the endless "flip" tools. I own a drawer full of them, and I reach for the same five every time.
Master Two Heat Zones Before You Cook for Guests
The most important technique in grilling is a two-zone fire: a hot zone for searing and a cooler zone for finishing, so nothing burns while the middle stays raw. On charcoal, bank the coals to one side; on gas, run one burner high and one low.
I tell every new griller that "low and slow" is a myth for beginners. What you actually need is a hot side and a safe side, and the patience to use both. Burgers sear on the hot side for 4 minutes, then coast over to finish quietly.
- Thin cuts like burgers and steaks sear hot, then finish on the cool side.
- Chicken and pork get a hard sear, then finish without flaming up.
- Vegetables and delicate food cook entirely on the cool side, stopping flare-ups.
Keep the lid on for most cooking. It traps heat and smoke, which is where outdoor flavor comes from.
Watch Temperatures, Not a Stopwatch
Every grill's output varies with wind, weather, and charcoal brand. A cookbook time means nothing compared to an internal temperature, and that's why the thermometer earns its place.
- Steak (medium-rare): 130 to 135°F (54 to 57°C), then rest 5 minutes.
- Burgers or pork chops: 145°F (63°C).
- Chicken breast: 160 to 165°F (71 to 74°C), no exceptions.
- Sausages: 160°F (71°C), cooked low so the casing doesn't split.
Pull meat about 5°F below your target and let it rest under foil. Carryover heat finishes the job while the juices redistribute. I pull steaks at 130°F and they hit 135°F while resting, every time.
Handle Fire Safely, Clean Up Fast
Fire safety is simple but not optional. Keep a spray bottle of water and an extinguisher within arm's reach, never leave a burning grill unattended, and let charcoal cool completely before disposing of it.
My one close call came from emptying "cool" ash into a cardboard box. Minutes later there was smoke. Now I soak the ash in water and let it sit overnight before it ever touches a trash can.
End every cook with a dirty clean: scrape the hot grate with a wire brush, then wash it inside with soapy water while it's warm. A clean grill preheats faster and tastes better. A few times a season, brush the grates with oil and run the grill hot for 15 minutes to reseason them like a cast-iron pan.
FAQ
How much money do I need to start grilling?
A charcoal kettle, a $30 thermometer, and $40 of tools is a realistic $170 to $220 starter kit that cooks everything.
Charcoal or gas for a complete beginner?
Gas is easier and cooks in 10 minutes. Charcoal teaches fire control and deeper flavor but needs 20 to 30 minutes of preheat.
What's the single most important grill tool?
An instant-read thermometer. It's the only tool that removes guesswork and tells you exactly when food is done.
How long should a grill grate last?
Cast-iron grates last years if you clean after every cook and reseason with oil a few times a season. Cheap wire grates rust out in one or two winters.
How do I stop food from sticking to the grate?
Preheat the grill, scrape it clean, and oil the grate or the food right before cooking. Hot, clean, and oiled never sticks.
Key Takeaways
- Buy for your real habits: a 22-inch charcoal kettle or a two-burner gas grill under $500 covers everything.
- Start with five tools: instant-read thermometer, long tongs, grill brush, heat-safe gloves, and an offset spatula.
- Always set up two heat zones: a hot side for searing and a cool side for finishing.
- Cook to temperature, not time; pull meat about 5°F early and let carryover heat finish it.
- Keep a spray bottle and extinguisher nearby, and never move ash that hasn't soaked overnight.
- Clean grates while hot after every cook and reseason them a few times a season.
A Final Word
The first cookout that humiliated me taught me what actually matters: confidence with heat, not a wall of gadgets. Buy the small starter kit, master the two-zone fire, and trust your thermometer. Within a season you'll be the one friends ask to bring the grill.
Published on 2026-08-13 by the QuiteRecipes team (Jamy & Kaïna).
Related Articles
5 Simple Ways to Be a More Gracious and Relaxed Dinner Host
Gracious hosting isn't about fancy food. It's five repeatable habits that calm the room — and you.
Bringing Vacation Home: How to Recreate Food Memories in Your Own Space
You can't bring the trip back, but you can bring its flavors. Here is how to turn travel food memories into weeknight meals in your own kitchen.
Composting at Home: A Beginner's Guide to Turning Scraps into Gold
Composting is the easiest way to turn food waste into garden gold. Start with a bin, learn the green-to-brown ratio, and watch it work.
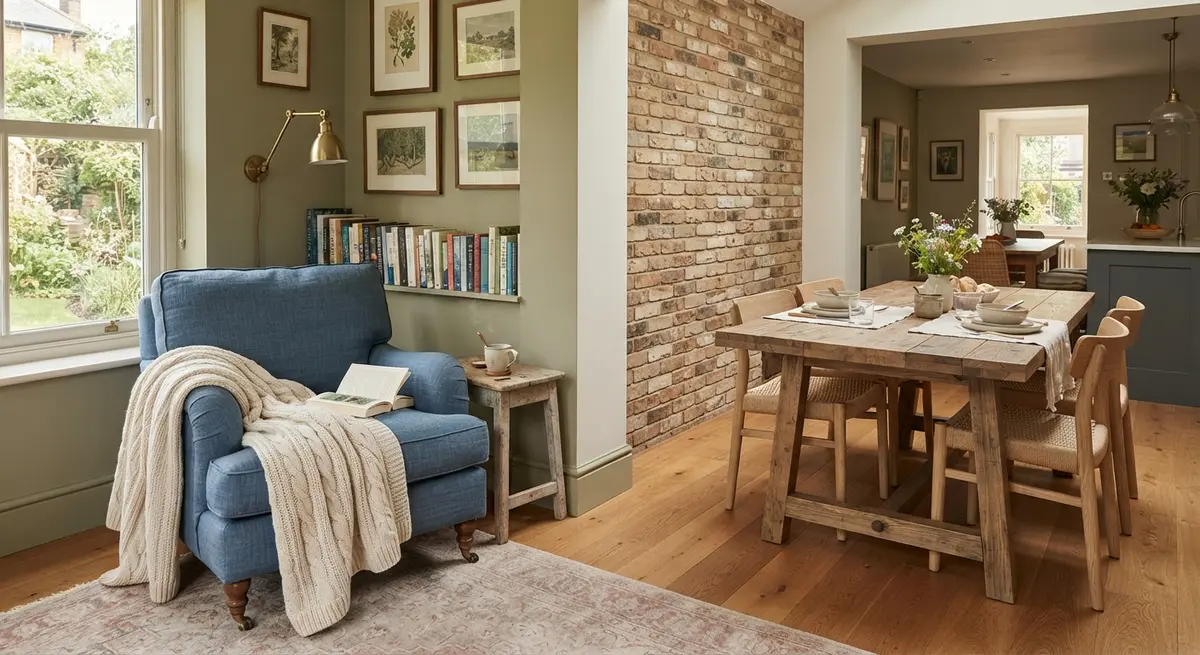
Creating a Cozy Reading Nook Right Next to Your Dining Area
Create a cozy reading nook beside your dining area without a redesign. Find the right corner, lighting, and chair for under $150.
About the Authors
This recipe and guide was developed, tested, and approved in our home kitchen and daily life. Jamy is a retired Food Service District Manager and Early Childhood Program Manager who spent his career overseeing multi-site restaurant operations, large-scale culinary production, and daycare menu management. Kaïna brings the ultimate real-world test: making sure it brings ease and joy to our kids on a busy weeknight.
Read more about our professional background and philosophy →