How to Organize Your Fridge and Stop Food Waste
By the QuiteRecipes team (Jamy & Kaïna)
The average household throws away roughly a quarter of the food it buys. Most of it spoils not because you forgot it, but because the fridge was set up to hide it. Here's the temperature-mapped, see-everything system I use.
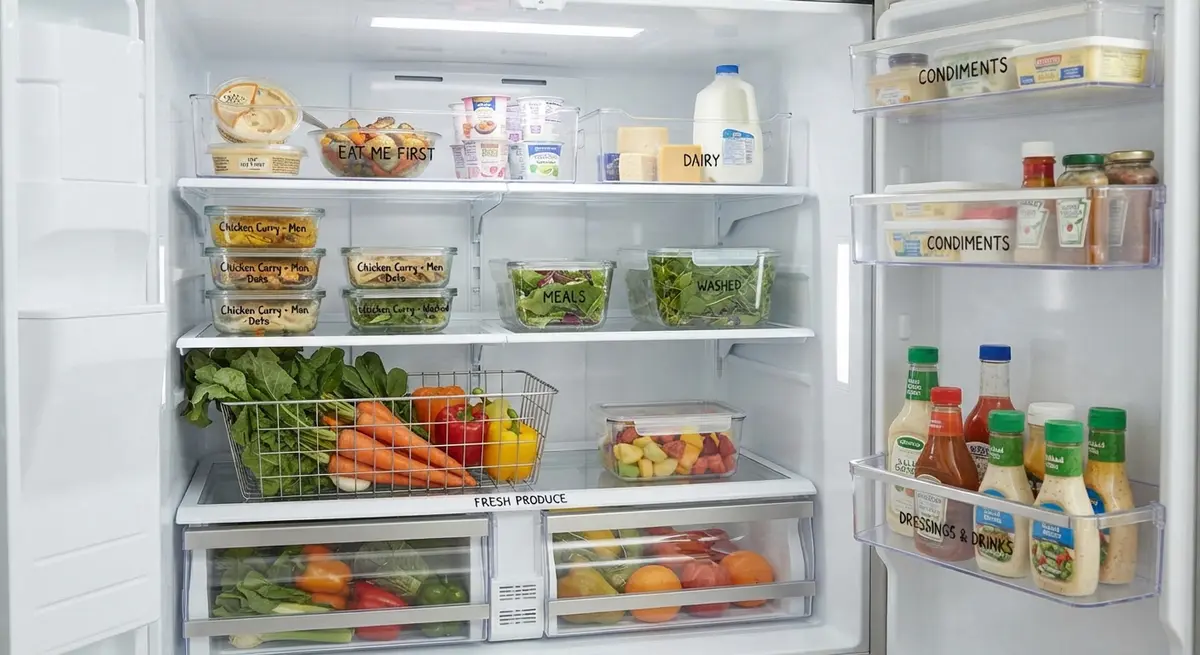
The last time I cleaned out my fridge before a holiday trip, I pulled out three bags of wilting spinach, a half-block of cheese that had grown a small gray wilderness, and a Tupperware I genuinely could not identify. On the way to the trash I did the math: that was maybe sixty dollars of food I'd paid for, stored badly, and simply forgotten about. It wasn't that I'd lost the appetite for it. It was that the fridge had been working against me the whole time.
Here's the uncomfortable truth about home food waste. Studies keep putting the share of food households throw away at somewhere between 20 and 25 percent of what they buy. And in my experience as a professional cook, almost none of that is about bad cooking. It's about a fridge that hides food and cools it unevenly. The fix isn't discipline; it's architecture. Rearrange the box, and waste drops dramatically — along with your grocery spend.
This is the exact system I use at home now. No new equipment, no expensive containers, about forty-five minutes on a Saturday afternoon. Let me show you how I set mine up, zone by zone.
The One Idea That Changes Everything: Zones
Kitchens work on zones — prep stations, cooktops, storage — and so should your fridge. The reason food spoils is rarely that you don't care; it's that everything is everywhere, so nothing is where you'll see it. My whole system collapses into three rules:
- Put things where the temperature suits them — cold spots hold the cold-loving stuff, door areas hold the hardy stuff.
- Put things where your eyes actually land — eye level, not hiding behind the crisper lid.
- Make everything visible — if you can't see it, you will repurchase it or you will forget to eat it. Both cost money.
Follow those three and the rest is detail. Let me walk you through each zone.
Rule One: Respect the Temperature Map
This is the part most people get backward, so let me start with the physics. Cold air sinks, so the coldest part of almost any fridge is the bottom — the back of the bottom shelves, closest to the cooling element. The door is the warmest part of the appliance and sees the most temperature swings every time you open it.
If you've ever kept a carton of milk in the door and wondered why it went sour three days before the date printed on it — that's why.
Here's the temperature map I follow:
- Lowest shelf, back (coldest, ~0-4°C / 32-40°F): raw meat, poultry, and fish in their sealed containers. This is also the smart spot for anything you want to keep longest — think yogurt, deli meats.
- Middle shelves (cold, ~4-5°C / 39-41°F): dairy, eggs, leftovers, anything opened and half-used.
- Top shelf (cool, ~5-6°C / 41-43°F): drinks, sauces that don't strictly need refrigeration, leftover condiments.
- Crisper drawers (humid, slightly warmer): fruits and vegetables.
- Door (warmest and most unstable): only the hardy stuff — butter, bottled sauces, drinks, pickles, jam (eggs do better on a middle shelf).
The single best thing I ever did: bought a cheap fridge thermometer (about $8) and set the whole unit to 4°C / 39°F. Most home fridges run warmer than their dial suggests. If your milk shelf life suddenly gets longer after you adjust, that's the proof it was never the milk's fault.
Rule Two: The Eye-Level Rule
In the restaurants where I worked, the line cooks had a merciless rule about prep: if it wasn't within reach and in sight, it didn't exist. Home fridges work the same way. The items at eye level almost never spoil. The items buried in the crisper behind a mountain of produce? Those grow science experiments.
So my golden rule: the easiest-to-see, easiest-to-grab shelves hold the foods that spoil fastest. Leftovers, prepped snacks, anything with a nearby use-by date get prime real estate. The potatoes, the bulk onions, the things that keep for weeks? They go down low, out of prime sight.
I also retrain myself on what to open first. When groceries come home, I do a quick "fridge census": anything close to its date gets pulled to the front of its shelf before new food goes in behind it. Five seconds per item, and the stuff that used to die in the shadow of newer purchases now gets eaten first.
Rule Three: Containers That Show Their Work
Here's where I nerd out, and where the biggest single upgrade hides. The enemy of an organized fridge is the opaque Tupperware and the clutter of leftover containers with no lid. If you can't tell what's inside a container without opening it, you won't. And an unopened mystery box ends its life tossed in the sink, then in the bin.
The professional solution is threefold:
- Clear containers, squared off. Square containers stack cleanly and waste less vertical space than random round bowls. Clear sides mean you never have to guess what's inside.
- Label with date + contents. A roll of painter's tape and a Sharpie lives in my drawer. Every leftover gets a label: "Chili — Tue." It takes ten seconds and it has never let me down.
- One-in, one-out rotation. The cooking world calls this FIFO — first in, first out. New leftovers go behind; the older container moves to the front. It's the same rotation system every walk-in cooler uses.
A trick that actually works: keep a visible bowl or spot on the top shelf marked "EAT FIRST." Every time you find a half-used carton, a lone chicken leg, a sad but still fine tomato, it goes in that bowl. When it's snack time or lunch-prep time, you eat from the bowl first. I've genuinely reduced my fridge waste by more than half with just this one habit.
The Door: A Place for the Hardy Things
Since the door is the warmest zone, it should hold only food that shrugs at temperature changes. Butter, opened jars of mustard and ketchup, jams, pickles, salad dressings, drinkable yogurts, and your egg carton if you must — though the middle shelf keeps eggs more stable. What I no longer keep in the door: milk, fresh juice, anything short-lived, and definitely not raw meat.
I also group jars by function so I'm not digging for the gochujang behind the mayonnaise. Small baskets (about $6) turn a cluttered door shelf into neat lanes — one for cooking sauces, one for sandwich spreads, one for dressings.
The Crisper Drawers: Two Zones for a Reason
Most fridges have two drawers labeled low-humidity and high-humidity, and almost nobody uses them correctly. The difference matters more than you'd think.
- High-humidity drawer (vent closed): leafy greens, herbs, cucumbers, broccoli, anything that wilts. These foods like a moist environment, which keeps their cell walls crisp.
- Low-humidity drawer (vent open): apples, pears, stone fruits, berries, tomatoes, anything that emits ethylene gas as it ripens. Opening the vent lets that gas escape; trapping it just speeds up spoilage of everything nearby.
And here's the pro rule that goes with it: don't wash produce before storing. The moisture you add in the sink is the same moisture that grows mildew in the drawer. Wash leaves right before you eat them, not before you store them. I learned this one after killing an entire drawer of spinach in a single week. If you must wash first, dry everything thoroughly and store on paper towels.
The gas secret: onions, potatoes, garlic, and apples are all heavy ethylene emitters. They ripen and spoil everything they touch. Keep onions away from potatoes (the onions turn soft and the potatoes sprout faster) and both away from leafy things.
Storing Meat, Fish, and Eggs Like a Cold-Storage Pro
Raw proteins are the priciest food in the fridge, so they deserve the coldest real estate and a little extra care.
- Meat and fish: keep them in the coldest, lowest back corner, sealed (or in a tray) so they can't drip onto anything below. This is why restaurant fridges put raw meat at the bottom — any accidental drip can't contaminate ready-to-eat food above it.
- Eggs: keep them in their carton on a middle or lower shelf. Egg shells are porous, and the carton protects them from fridge smells. They'll keep three to five times longer than the door rack allows.
- Leftovers: cool them before storage, but don't wait for room temperature — bacteria thrive in the danger zone between 4°C and 60°C / 40°F and 140°F. My aim: covered and refrigerated within two hours. Never put a hot pot straight in; it spikes the whole box's temperature.
The "Cook This Week" Budget Trick
Here's where organization pays literal money. The average family, by most estimates, throws out hundreds of dollars of food a year. When I stopped losing food, I had to buy less, and the math showed up in my grocery bill within two weeks.
The system that clicked was linking the fridge to a short plan:
- Shop to the plan, not the list of fantasies. Plan meals for the week, then shop only for what those meals plus staples need. Impulse buys — especially produce — are the number-one driver of wasted money.
- Batch some ingredients, not full meals. Wash, chop, and portion weekend produce so weekday cooking is assembly, not choreography.
- Cook with the "eat first" bowl. The bowl isn't decoration; it's the menu. If it says "half a roasted chicken and a pint of tomatoes," that's Tuesday's dinner shaping itself up.
What to Never, Ever Store in the Fridge
Some foods genuinely get worse in the cold. Keep these out:
- Tomatoes: cold kills their flavor and turns the flesh mealy. Countertop, stem-down.
- Potatoes and onions: cold turns potato starch to sugar and makes onions soft; together they accelerate each other's ruin. Keep both cool, dark, dry, and separately.
- Bread: the fridge dries it out dramatically and can introduce fridge odors. Freeze it for long-term, counter for short-term.
- Garlic: it sprouts faster in the cold. Out on the counter it's fine.
- Basil (controversial one): it wilts and blackens in the fridge. Trim the stems and stand it in a glass of water on the counter like flowers.
- Honey, and most unopened hot sauces: cold crystallizes honey and wastes space. Shelf-stable things want the pantry, not the fridge.
Removing these from the cold was the cheapest improvement I ever unlocked.
A 45-Minute Reset, Step by Step
If you want to do my exact reset, here's the whole routine:
- Empty everything onto the counter (after checking the temp and clearing a plan). This is the hardest step and also the most revealing. Take a picture of the "before" — it helps on bad weeks.
- Throw out the obvious casualties and compost what's compostable. Be honest: this is a tax for past disorganization, and it will shrink.
- Wash every shelf and drawer with warm soapy water or a mild vinegar solution, then dry completely.
- Zone it: coldest bottom back for proteins; middle for dairy, eggs, leftovers; top for drinks and opened sauces; door for hardy condiments; drawers set by humidity.
- Containerize your losers: the sneaky offenders — half-bags of salad, open cheese, deli meats — go into clear containers or sealed bags with a date.
- Rotate everything in so the newest goes behind the older, and pull anything close to its date to the front.
- Set the "eat first" bowl and fill it with whatever's closest to its date.
- Reset the thermometer to 4°C / 39°F and confirm it overnight.
That's it. Forty-five minutes, no purchases required.
FAQ
Why does my milk keep spoiling before the date on the carton?
Check the door. Door storage exposes the carton to warm, fluctuating temperatures. Move milk to a middle or bottom shelf, and confirm the fridge itself reads about 4°C / 39°F.
Which crisper setting is which?
Closed vent = high humidity, for leaves and herbs that wilt. Open vent = low humidity, for fruits and anything emitting ethylene gas.
Do I need to buy expensive containers for this to work?
No. The important thing is clear visibility and a date label. I started with clear deli containers and masking tape.
Is it worth reorganizing if my fridge is small?
Yes, even more so. Every inch has to earn its place, and vertical stacking with square containers is your best friend.
Key Takeaways
- Map your fridge by temperature: coldest at the bottom back, warmest in the door. Milk and eggs do not belong in the door.
- Keep the fastest-spoiling food at eye level, and everything visible; opaque containers are where produce goes to die.
- Set the unit to 4°C / 39°F with a cheap thermometer — most fridges run warmer than they say.
- Use both crisper drawers differently: high humidity for leaves, low humidity for ethylene-emitting fruits.
- Label leftovers with date + contents, use FIFO rotation, and feed a "Eat First" bowl before you even look at the pantry.
- Keep tomatoes, potatoes, onions, bread, garlic, and basil out of the cold entirely.
Your Fridge, Working With You
I'll be honest about what this cost me the first time: forty-five minutes and the shame of a full bin. What it gave back was quieter. Two weeks later my grocery bill was down because I was finally eating what I'd bought. The leftovers became next week's lunches; the fridge stopped being a mystery box and became a kitchen tool again.
Start with one shelf. Just one — the eye-level one. Put the perishables there in clear containers, rotate as you shop, and watch what happens to your waste bins. That single change is where most of the savings live.
Published on 2026-08-13 by the QuiteRecipes team (Jamy & Kaïna).
Related Articles
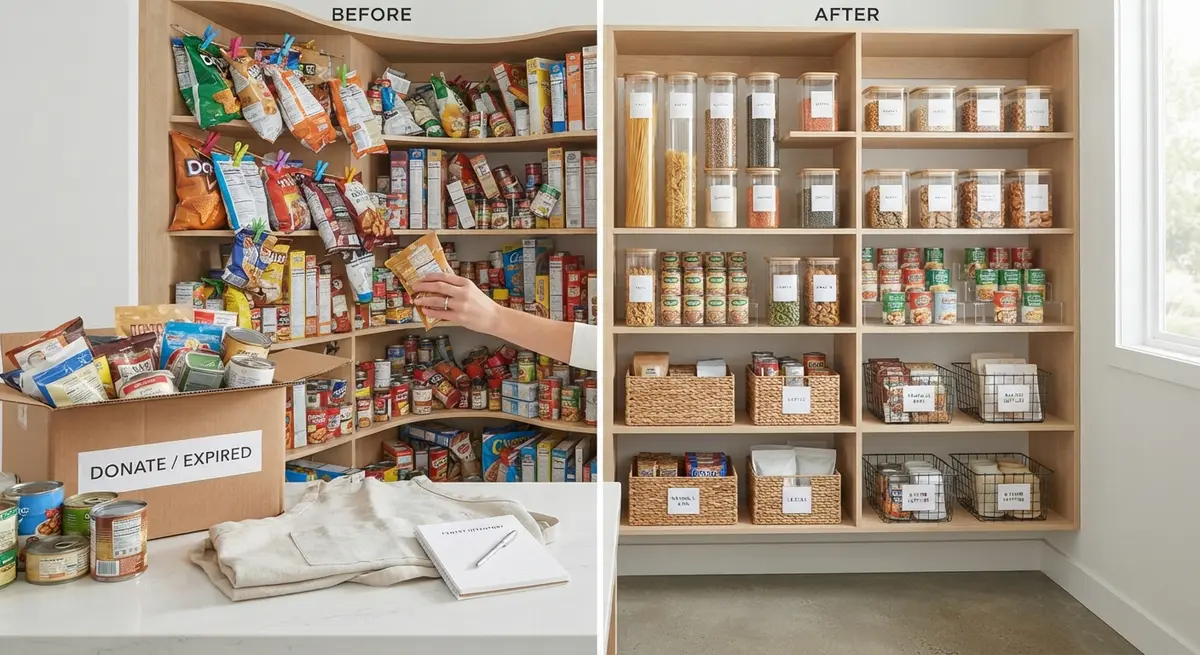
Pantry Reset: The Step-by-Step Cabinets Declutter Method
The pantry reset is a two-hour project that pays for itself all year. Empty everything, discard what's expired, zone by use, label clearly, and restock so dinner gets easier instantly.
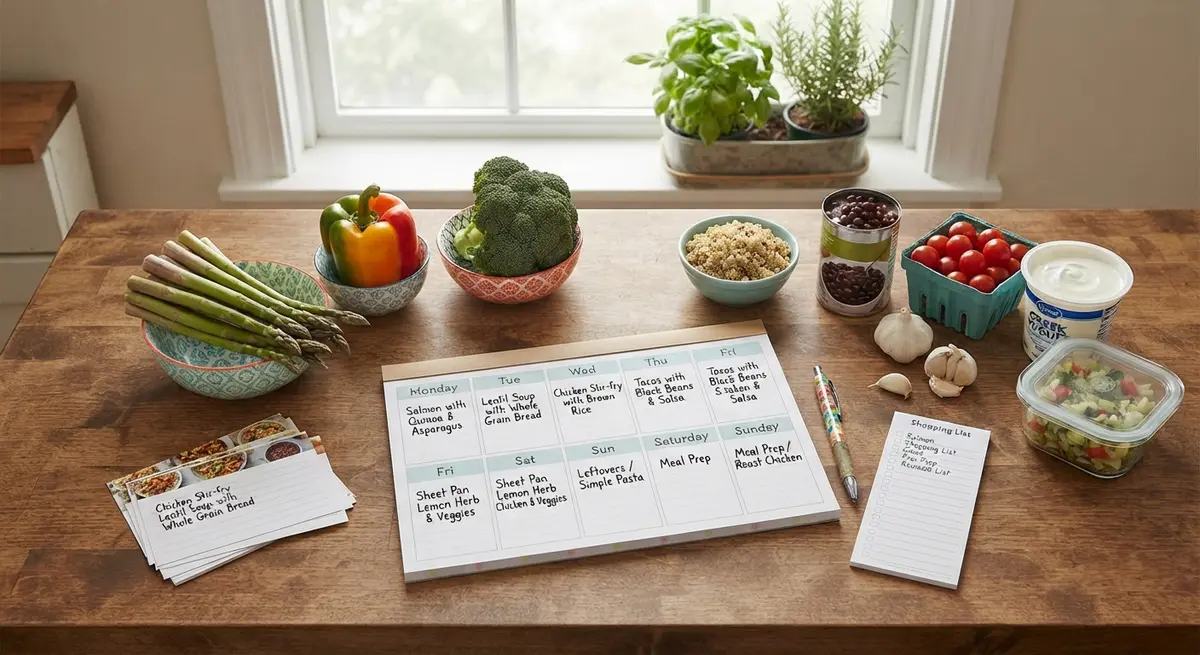
How to Build a Balanced Weekly Meal Plan Without Burnout
Meal planning without burnout: use the flexible 3-2-1 framework, a 20-minute Sunday session, and batch cooking tricks that survive real life.
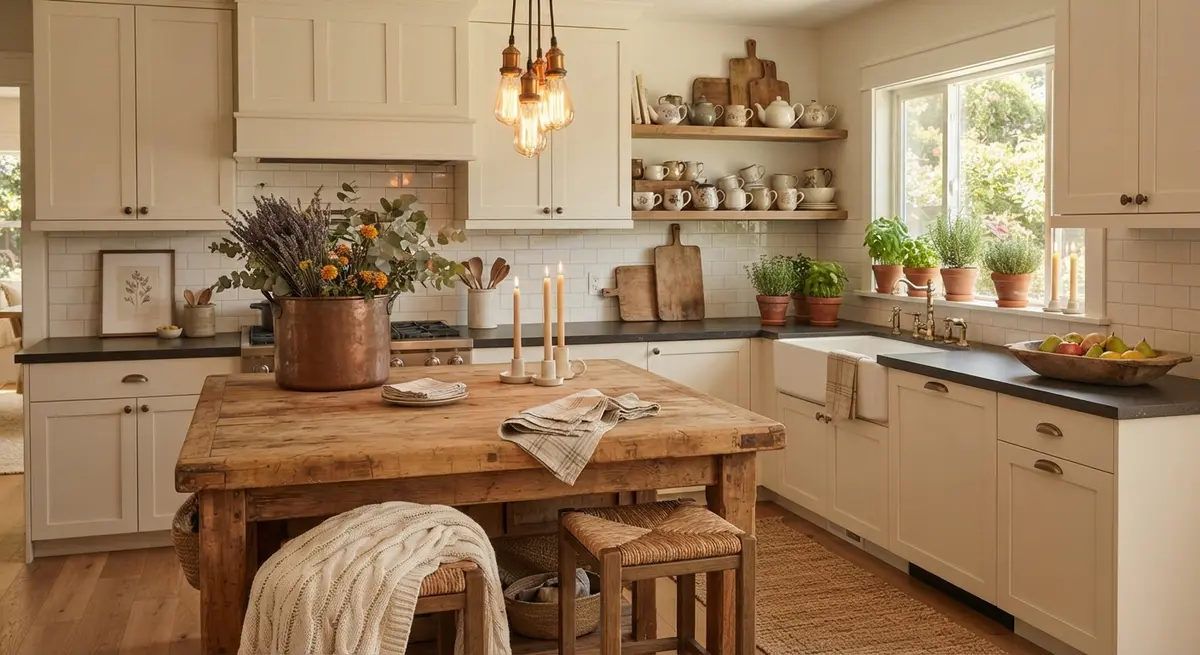
5 Cozy Decor Ideas to Make Your Kitchen Feel Like Home
The coziest kitchens aren't magazine spreads — they're layered light, soft textures, living green, good smells, and room to gather. These five ideas make any kitchen feel like home.
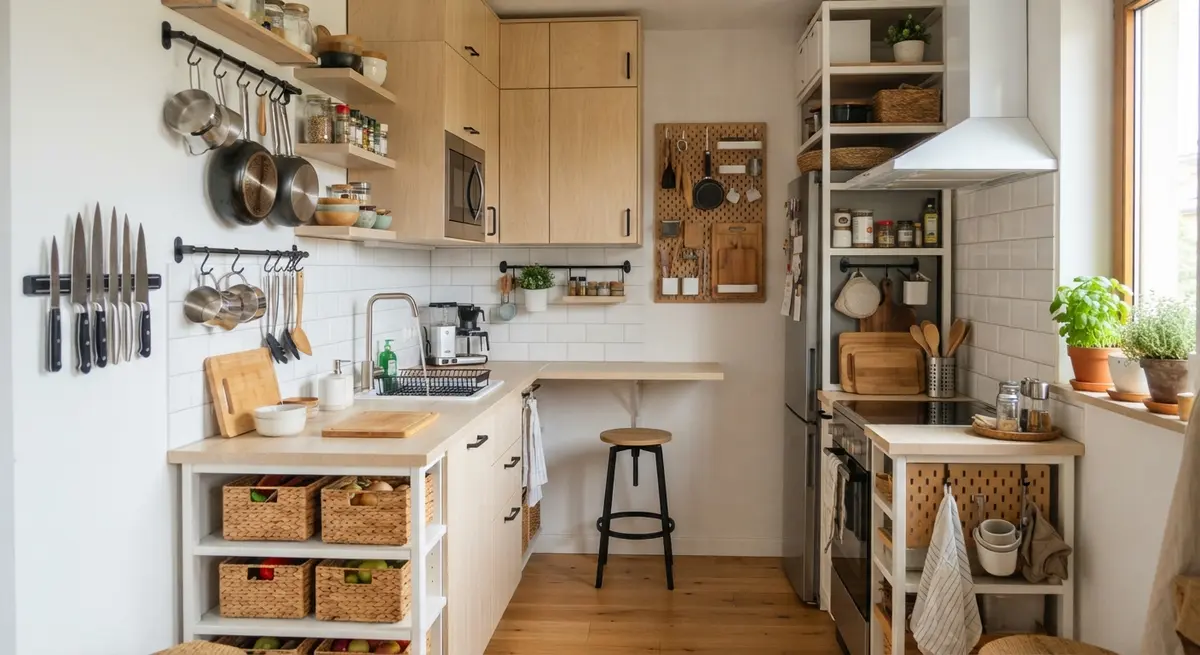
7 Simple Space-Saving Hacks for Small Kitchens
A tiny kitchen can still feel open and work beautifully. These seven hacks — from vertical storage to multitasking tools — double your usable space without a renovation.
About the Authors
This recipe and guide was developed, tested, and approved in our home kitchen and daily life. Jamy is a retired Food Service District Manager and Early Childhood Program Manager who spent his career overseeing multi-site restaurant operations, large-scale culinary production, and daycare menu management. Kaïna brings the ultimate real-world test: making sure it brings ease and joy to our kids on a busy weeknight.
Read more about our professional background and philosophy →