The Best Tools for Grinding Spices at Home
By the QuiteRecipes team (Jamy & Kaïna)
Mortar, blade mill, or burr grinder: each suits a different spice job. Match the tool to the grind and the flavor comes alive instantly.
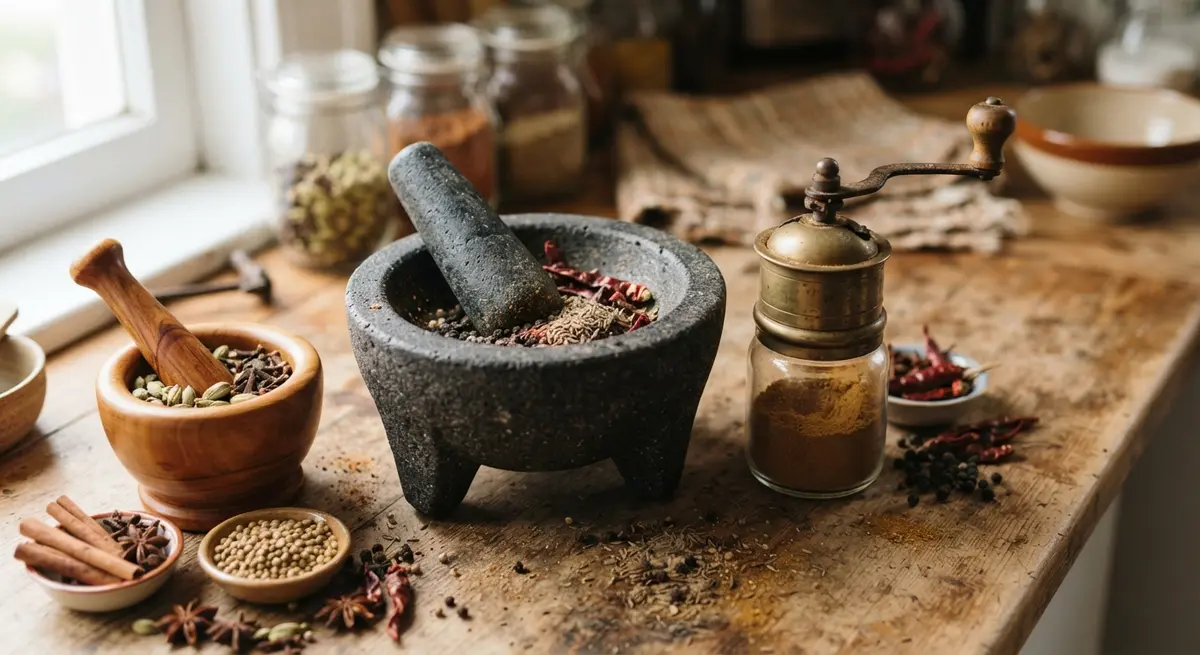
The tool you grind with changes how your spices taste, and I learned that by accident. I started with a cheap blade grinder, upgraded to a mortar and pestle for curries, and discovered that neither is best for everything. A mortar gives you control and announces every grain; a blade mill is fast and covered; a burr grinder is precise. None of them is "the best tool," what matters is the right tool for the spice and the timing. This guide is the field guide I wish I had before I bought my third grinder.
Why It Matters
Grinding is where a whole spice turns into flavor, and the tool decides how that flavor arrives. A mortar and pestle smashes seeds, releasing oils in slow, controlled waves, ideal for pastes and curries. A blade mill spins fast and grinds quickly, perfect for hard seeds and big batches. A small burr grinder gives the even powder baking craves. Sharp blades and even pressure matter most: dull or greedy machines heat the spice and steal exactly the oils you spent money to release.
The Technique, Step by Step
- Match the tool to the task: mortar for pastes and small batches, blade mill for seeds and volume, burr for fine, even powder.
- For a mortar, press and twist the pestle with the grain, grinding in a spiral, don't pound blindly.
- For a blade mill, pulse in short bursts and shake between pulses so everything meets the blade evenly.
- Cool the spice first, cold grinding keeps the oils locked in your powder instead of the air.
- Clean between spices: a brush, or a wipe of plain white bread in a blade mill, removes last week's aroma.
- Store the ground result airtight and use it within days, freshly ground is the whole deal.
Common Mistakes to Avoid
- Grinding wet, coconut, or garlicky things in a dry blade mill: the film stays and flavors every spice after.
- Overfilling the mill: large loads grind unevenly and heat up the batch before you finish.
- Using a dull blade: mashing instead of cutting heats and shreds, and the spice oxidizes faster.
- Pounding a mortar like a hammer: pressure and a twist do the work, banging makes spice dust fly.
- Leaving ground spice loose on the counter: exposed powder fades in hours, jar what you grind.
Quick Wins & Variations
- Keep a dedicated small pepper mill at the table for fresh black and white pepper.
- Grind a week's spice at a time, not a year's, and label it.
- Add a pinch of salt to the mortar when grinding soft things like cardamom.
- Clean the blade mill instantly with a shot of uncooked rice, then a rinse.
- Buy a mortar big enough for your biggest curry paste, the small ones frustrate.
FAQ / Quick Facts
- Which grinder is the very best? The one you will actually use, a basic blade mill beats a gorgeous mortar that stays in the cabinet.
- Can one tool do everything? Close, a good blade mill handles seeds and bark, while a mortar handles pastes and textural control.
- Why does food taste better freshly ground? Grinding knocks open the oils, so the flavor goes straight to the dish instead of evaporating.
- How do I clean a spice grinder? Brush or pulse raw rice, wipe off, and it stays clean and smelling like nothing.
Related Articles
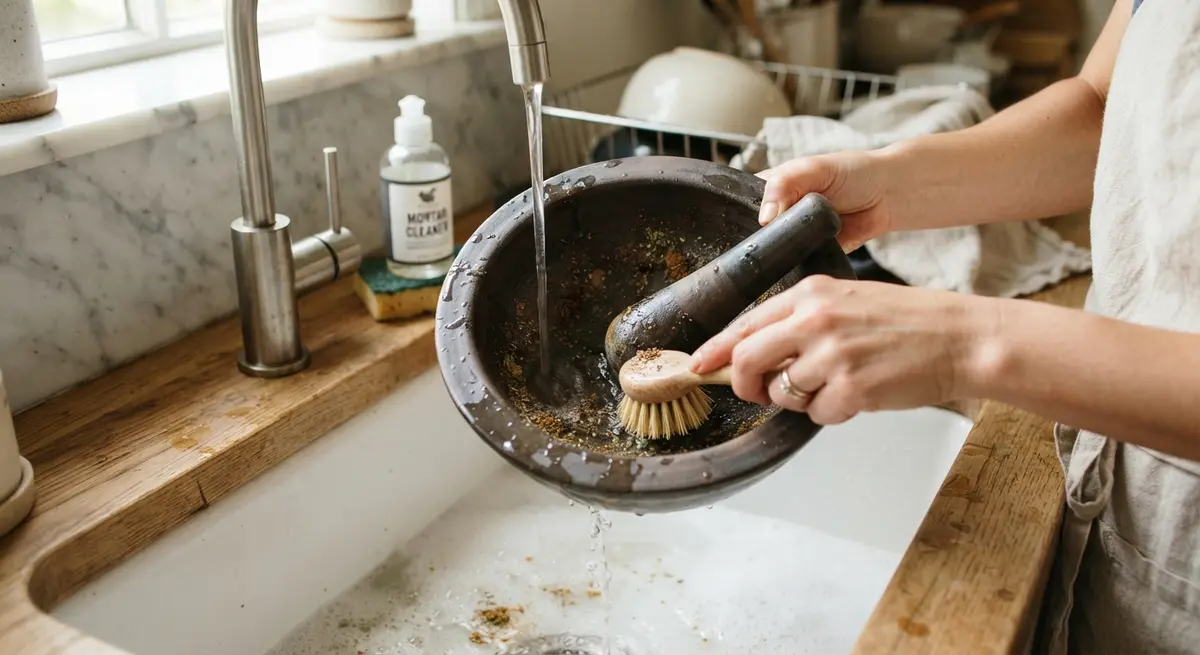
How to Clean a Mortar and Pestle So No Old Spice Lingers
A mortar and pestle is a flavor sponge and must be cleaned kindly. Rice grit, a dry cloth, and soap-free love keep it pure for everything.
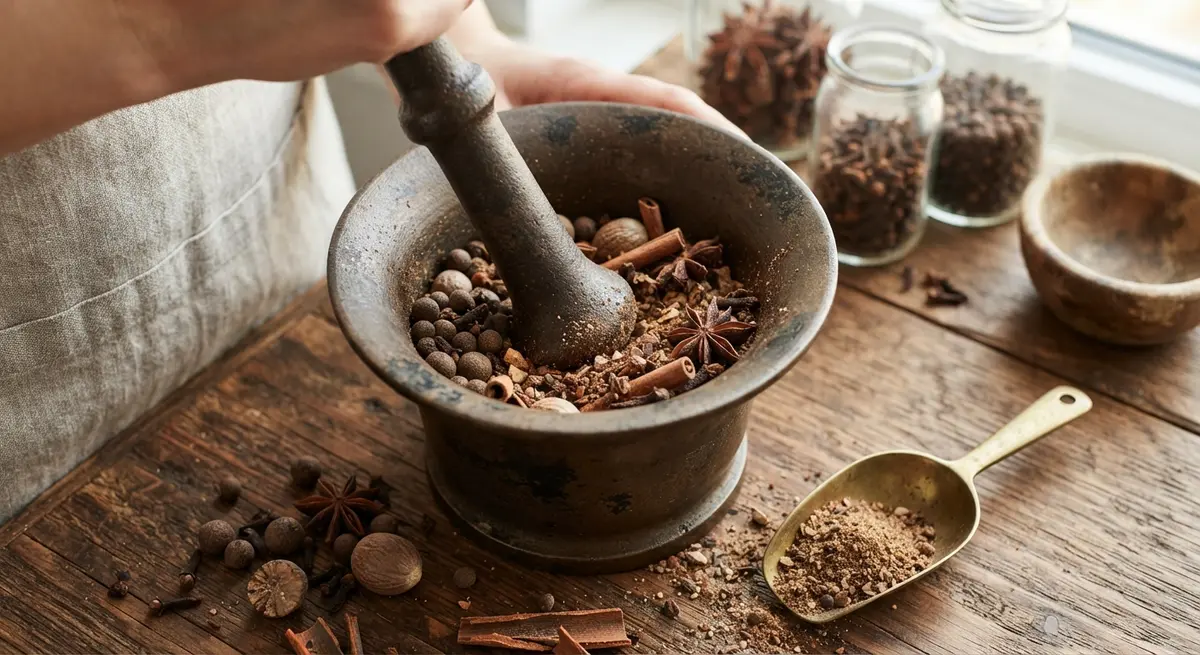
How to Grind the Hard Spices Without Losing Your Mind
Cinnamon bark, nutmeg, and star anise are stubborn. Warm them, break them, wrap them, and even a cheap grinder will surrender fine powder.
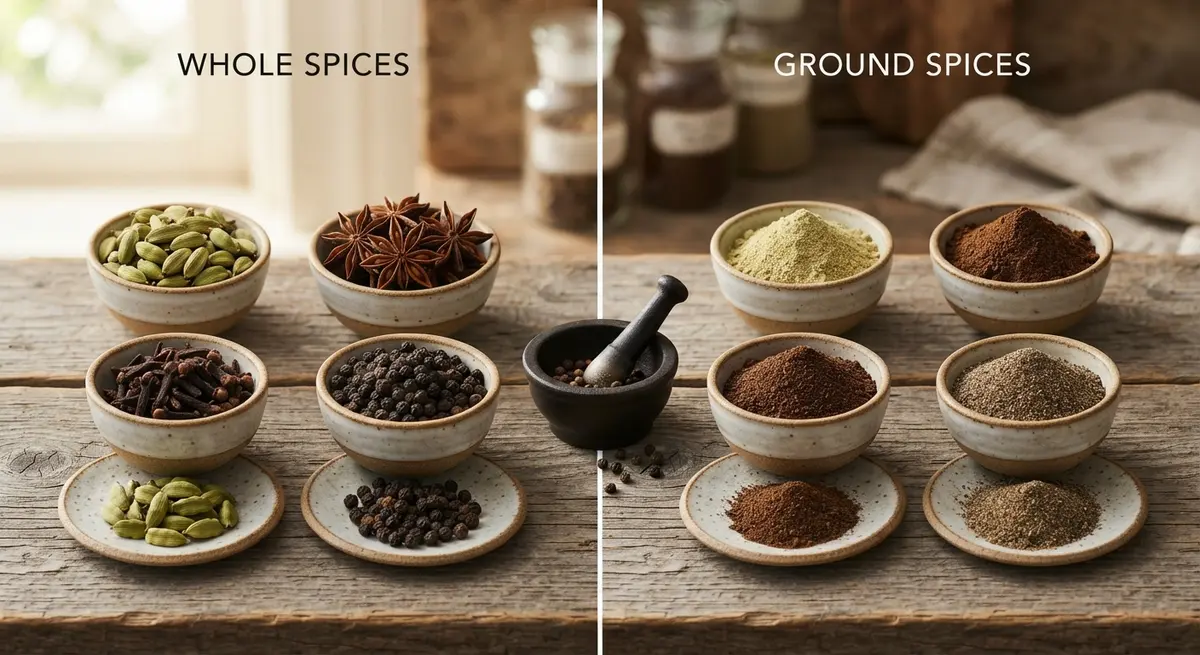
Whole vs. Ground Spices and Why Fresh Grinding Wins
Whole spices are a time capsule, ground spices are a countdown. Grind at home what you can, and you double the flavor overnight.
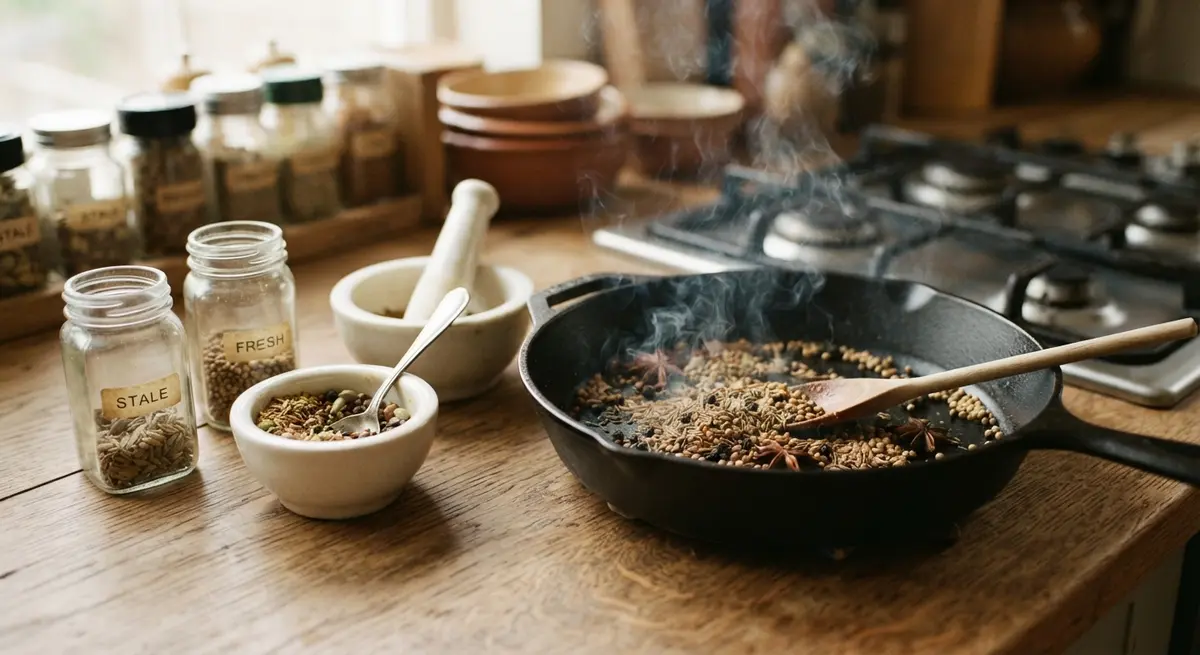
Can You Revive Stale Spices? Mostly No, and Here Is the Fix
Stale spice can be nudged back a little, never fully. Toast, blend, and refresh what you can with restraint; some jars just deserve retirement.
About the Authors
This recipe and guide was developed, tested, and approved in our home kitchen and daily life. Jamy is a retired Food Service District Manager and Early Childhood Program Manager who spent his career overseeing multi-site restaurant operations, large-scale culinary production, and daycare menu management. Kaïna brings the ultimate real-world test: making sure it brings ease and joy to our kids on a busy weeknight.
Read more about our professional background and philosophy →